Table Design Kit
Need A Little Help?
Check out this video and the examples below
Reach out to us here
Or book a design call to do it with us live!
Check Out Some Examples
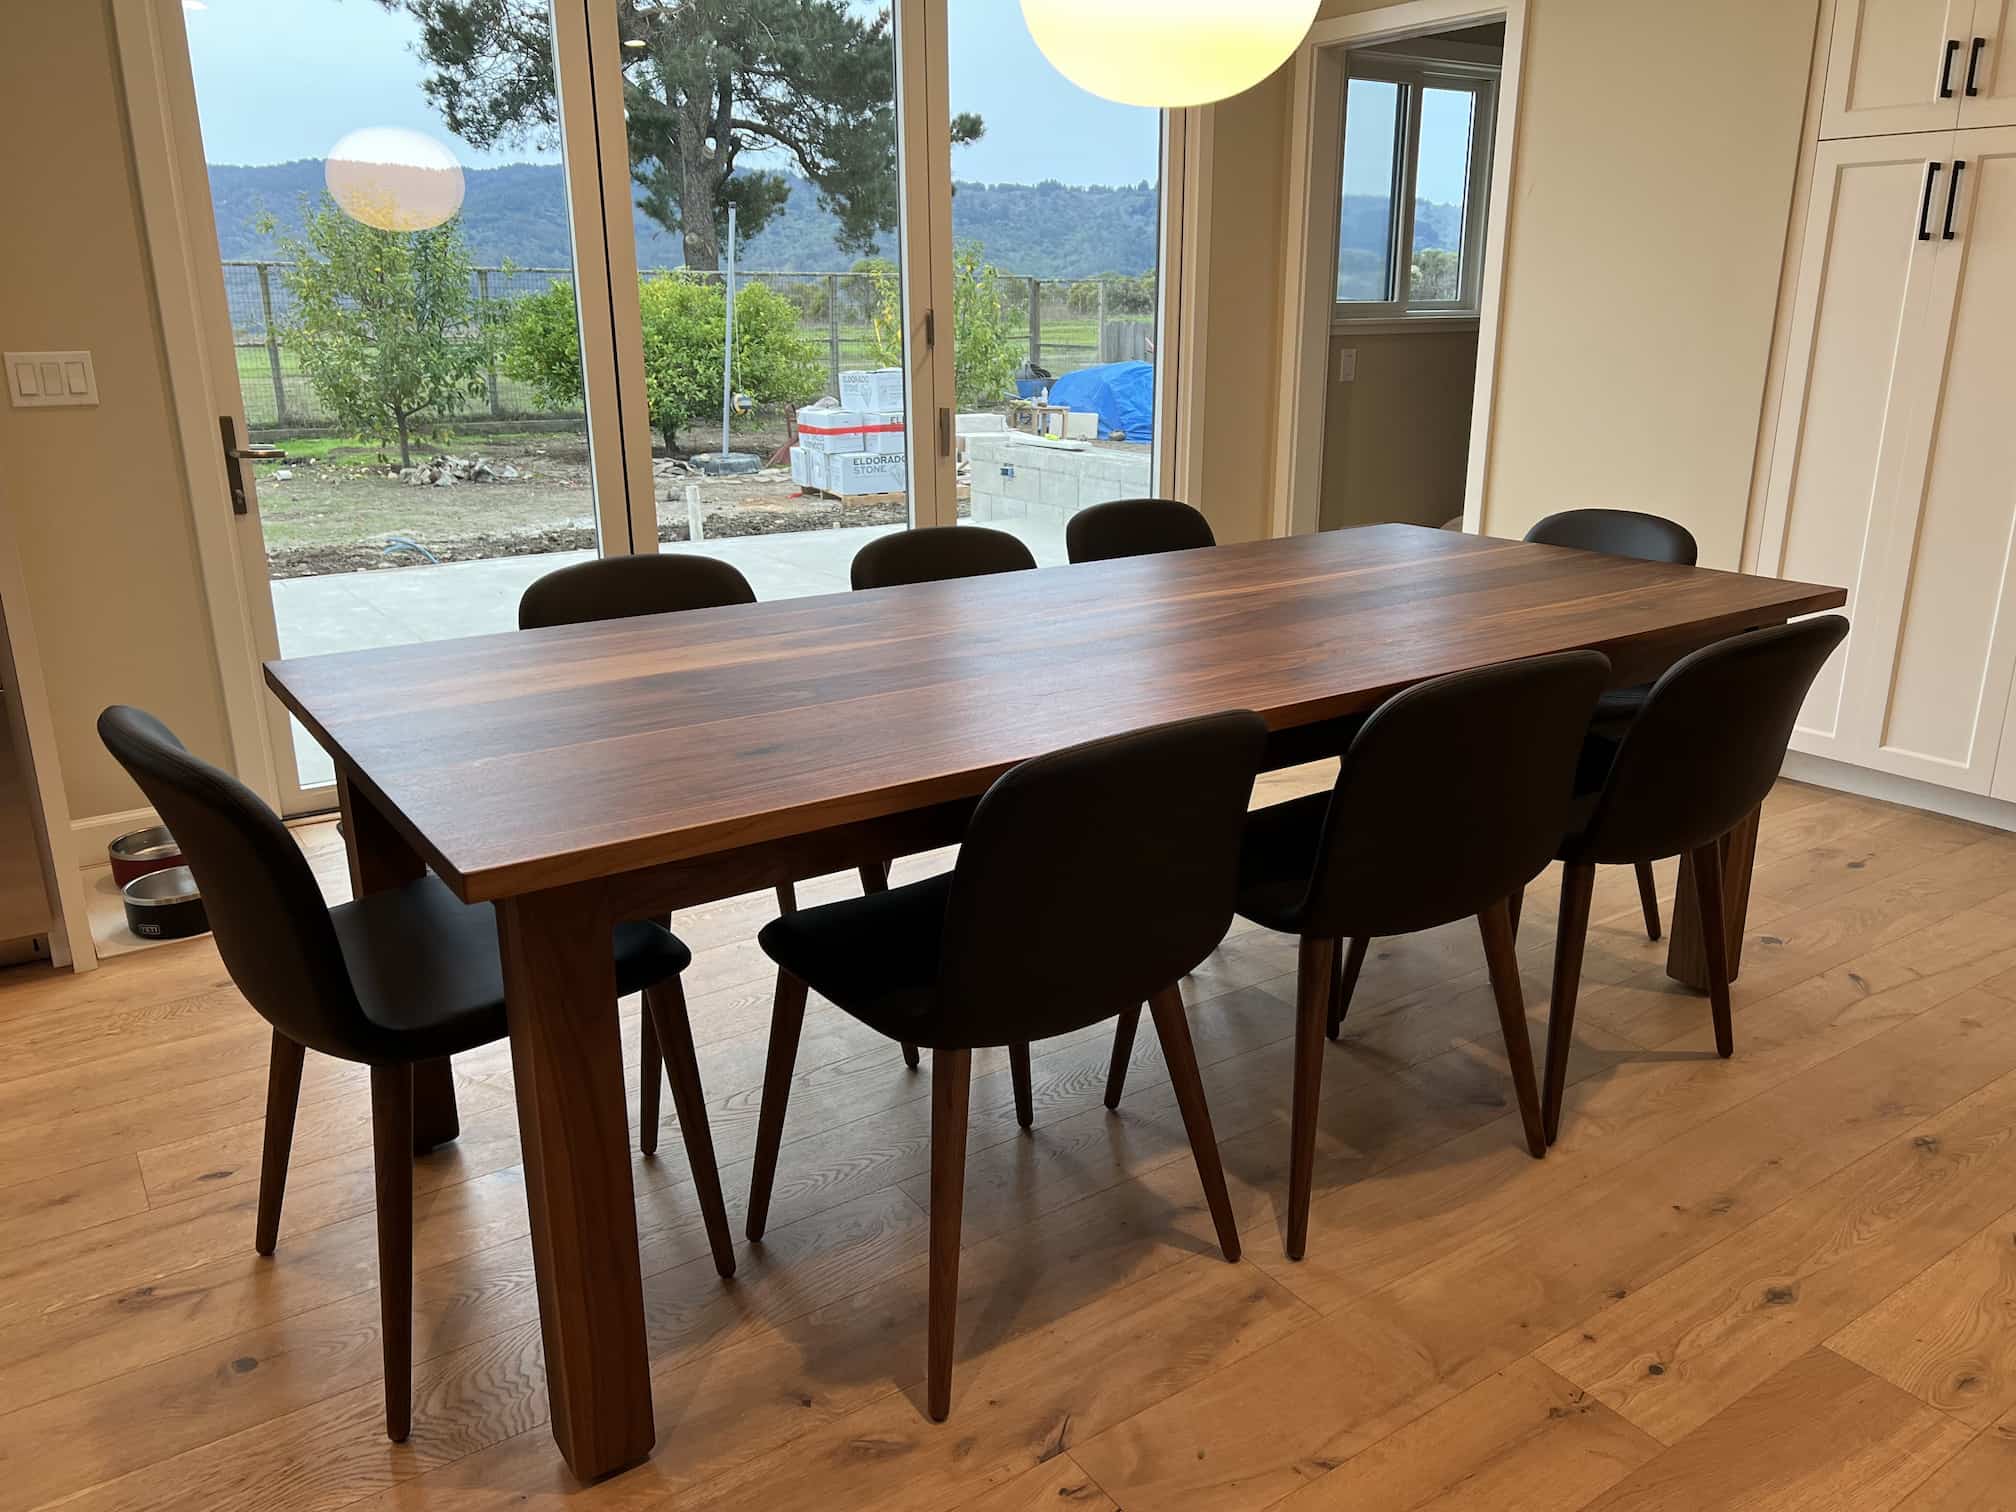
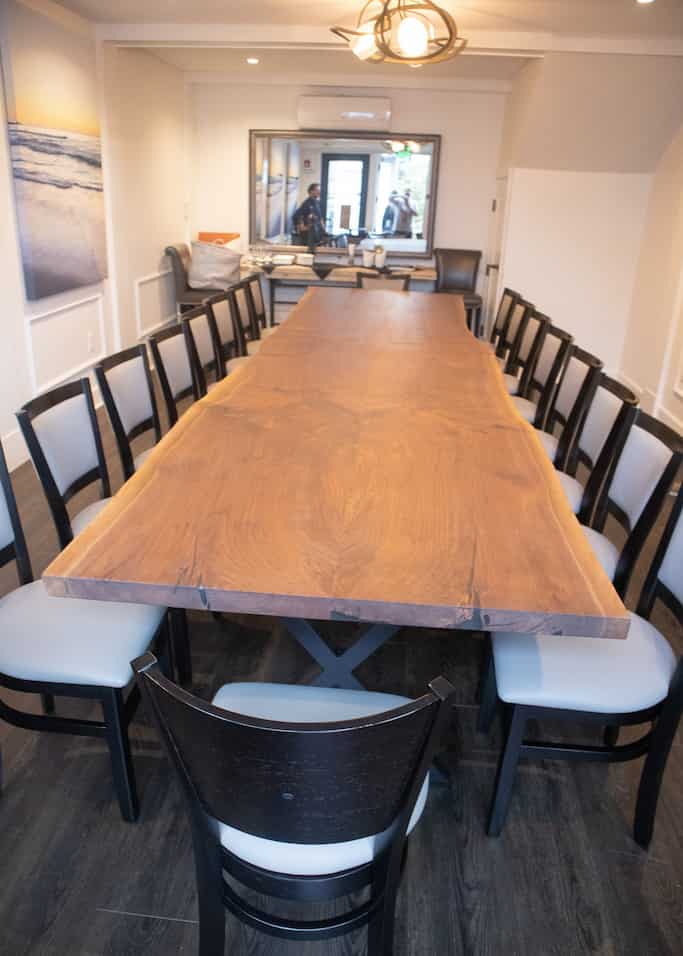
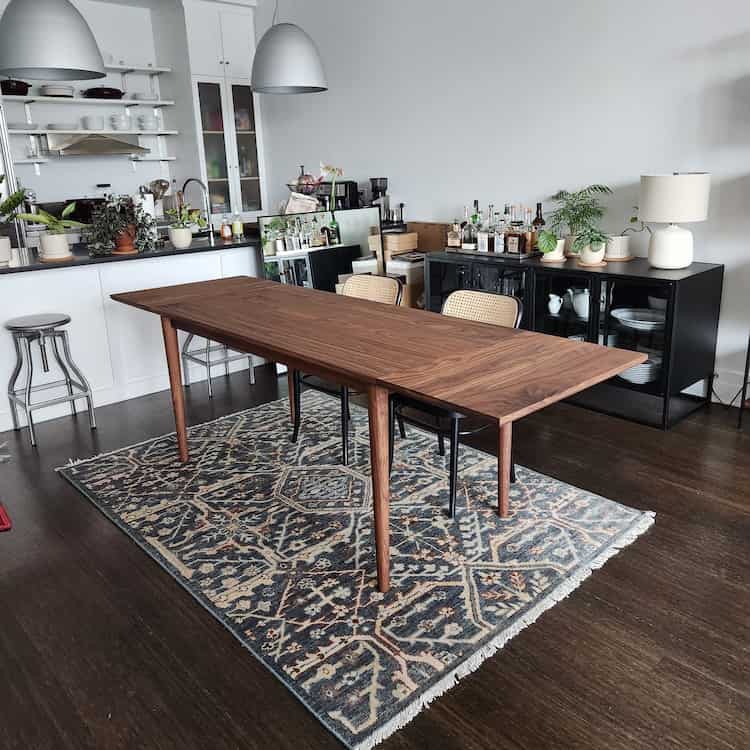
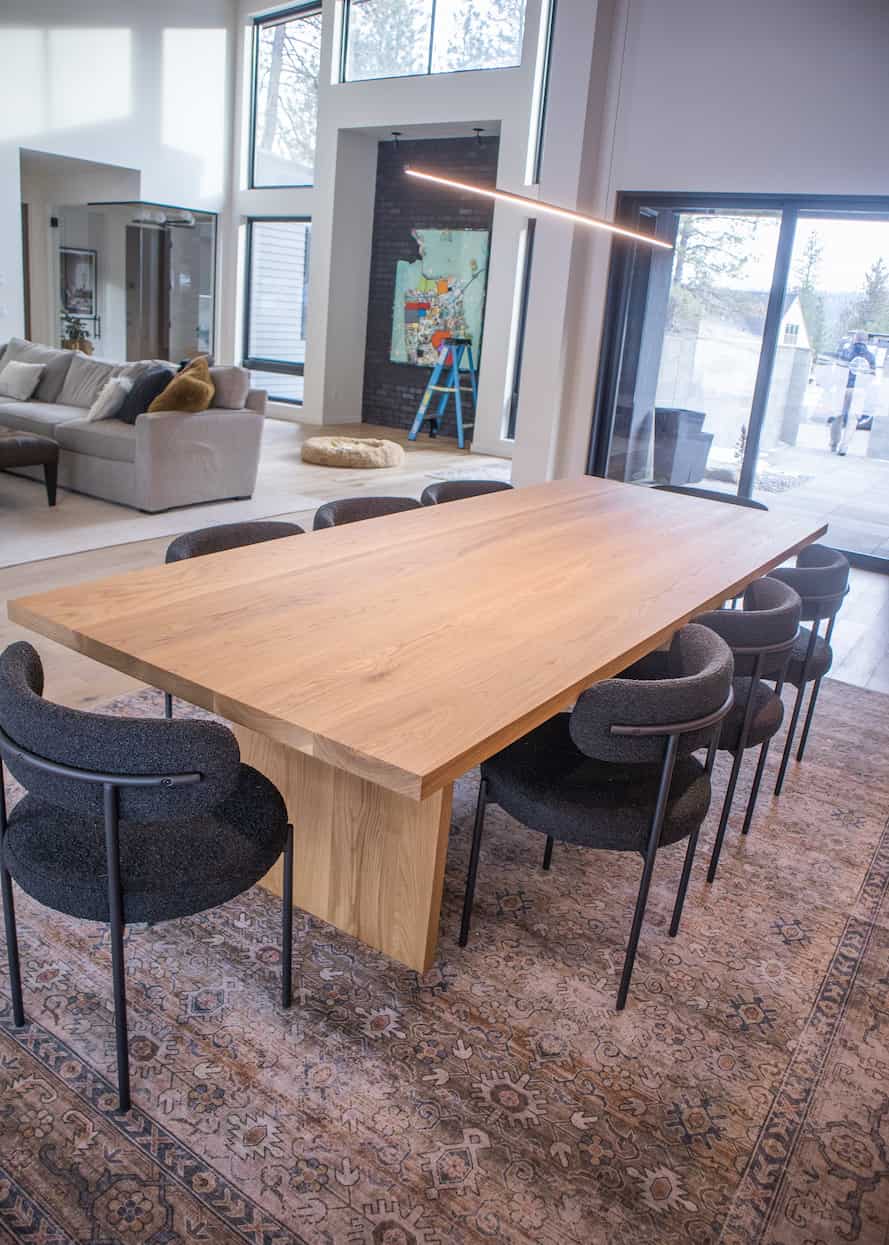
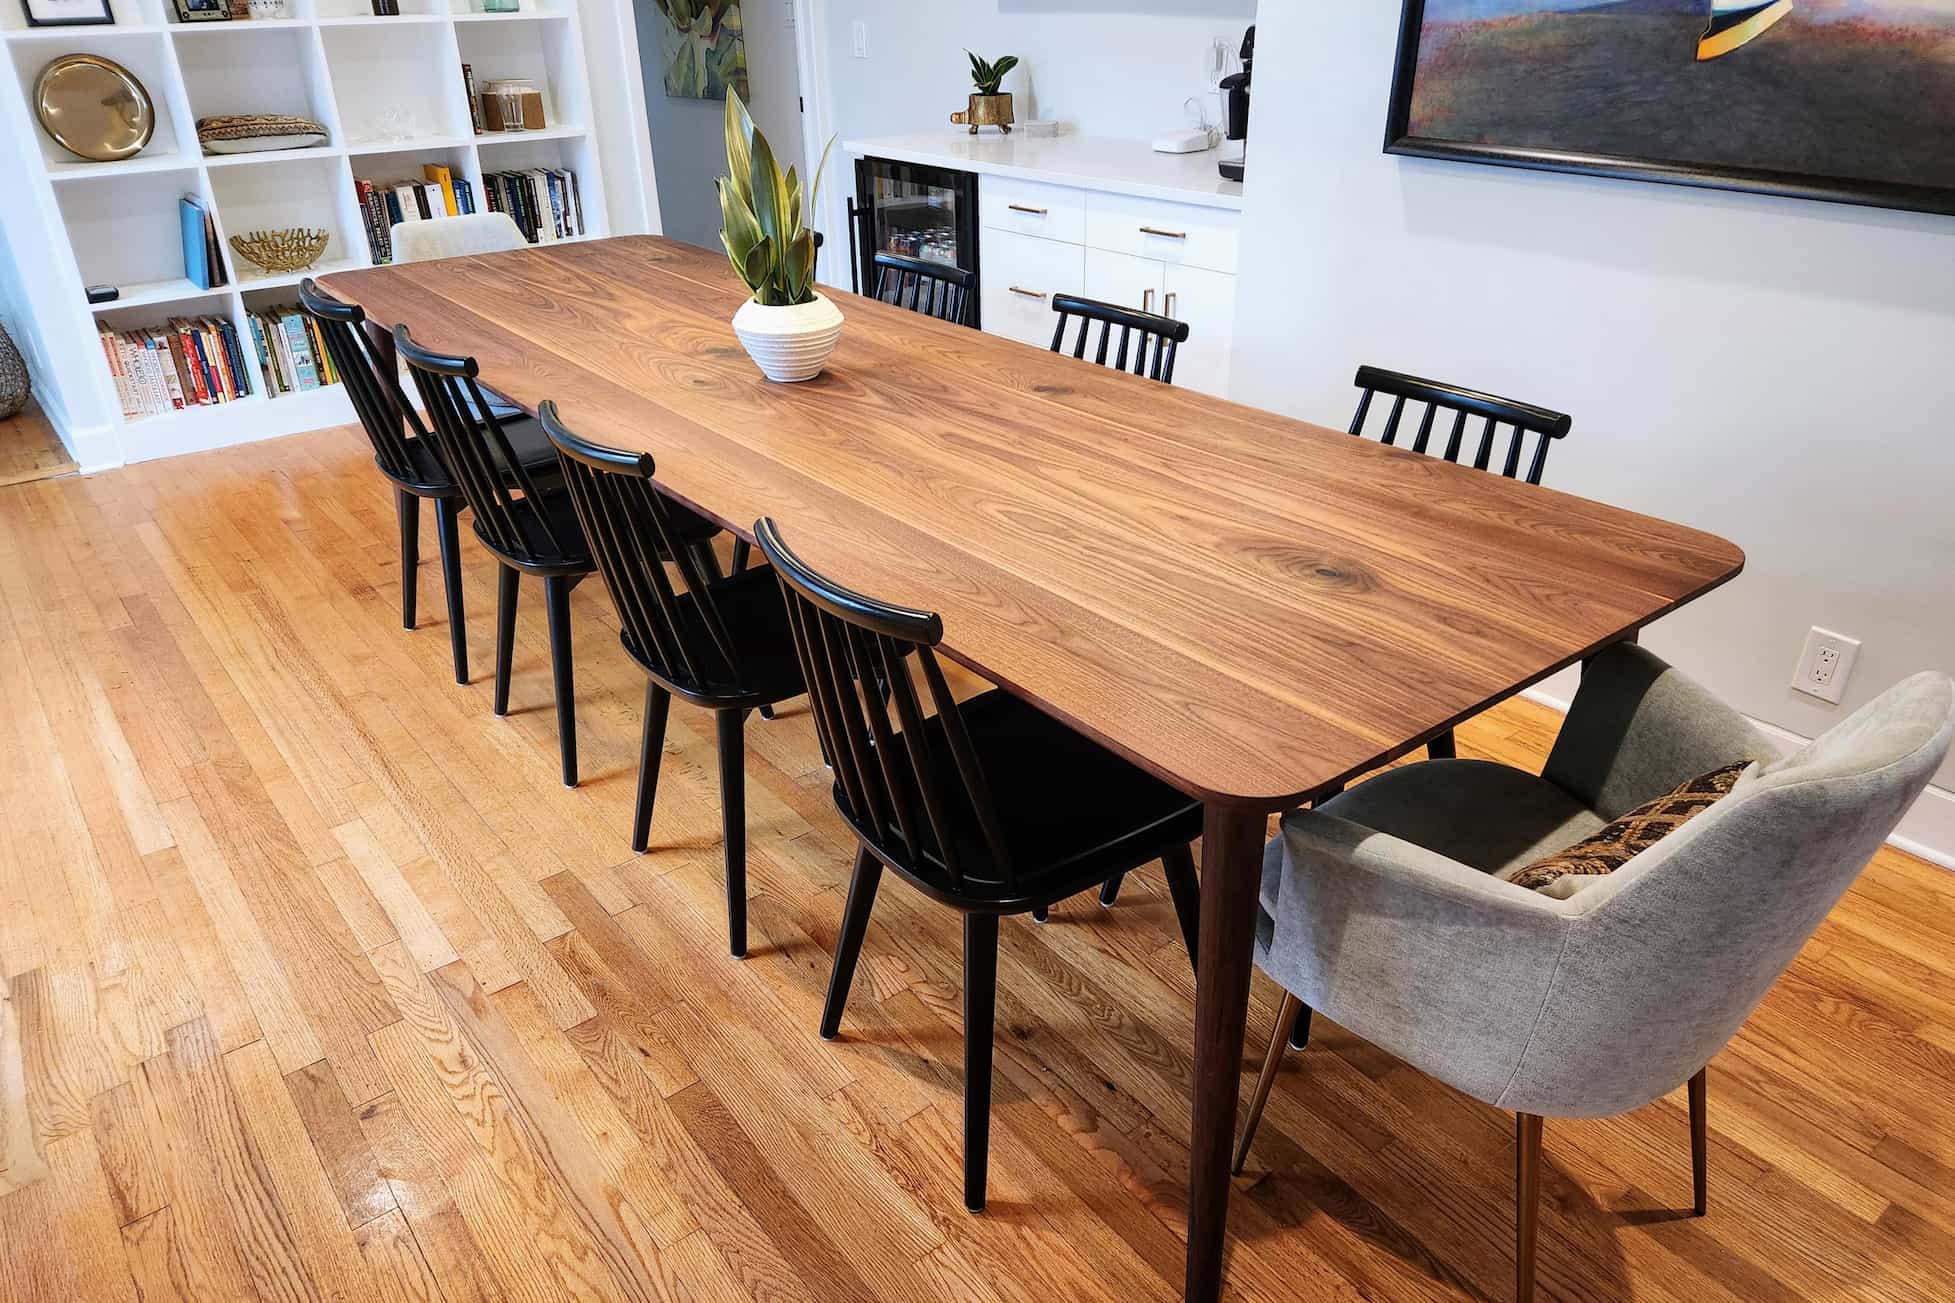
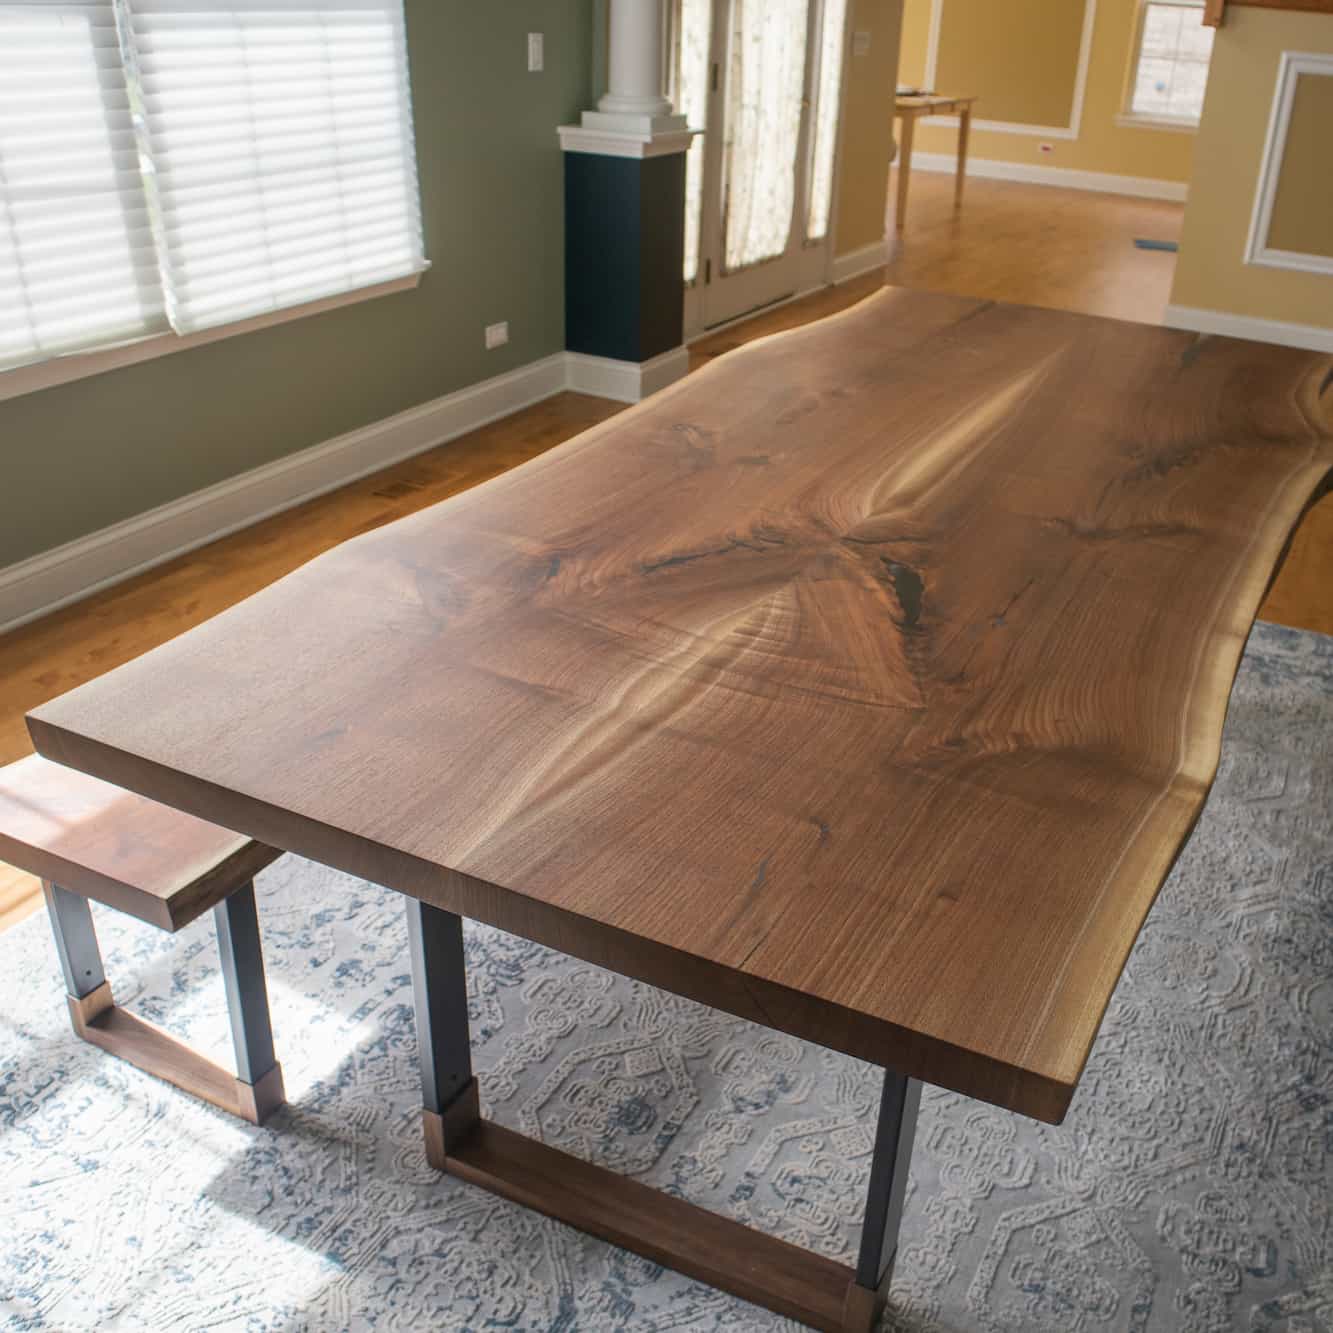
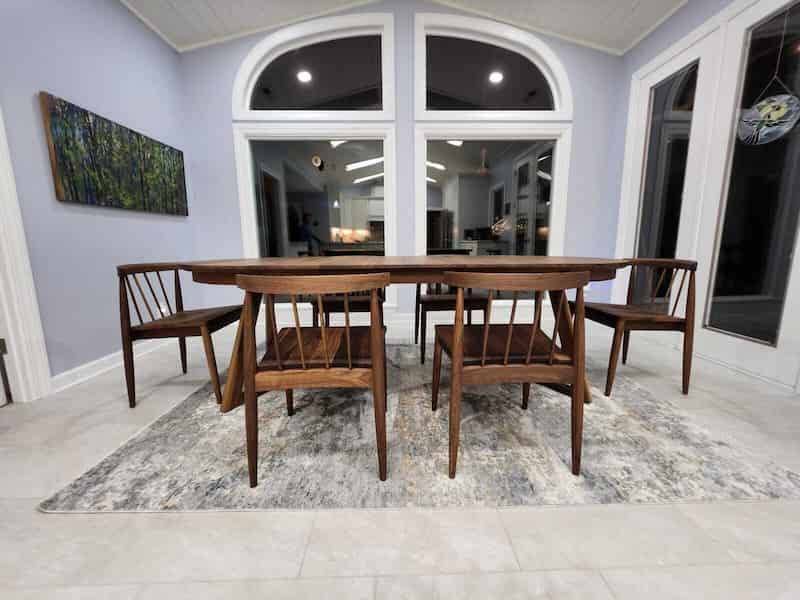
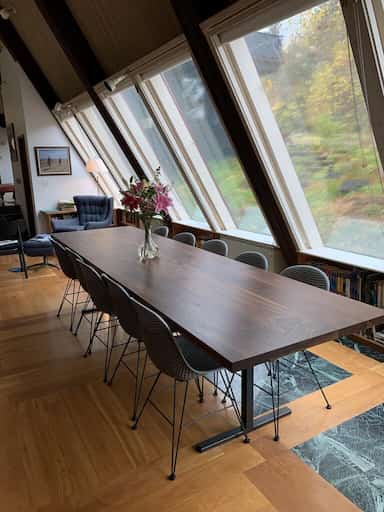
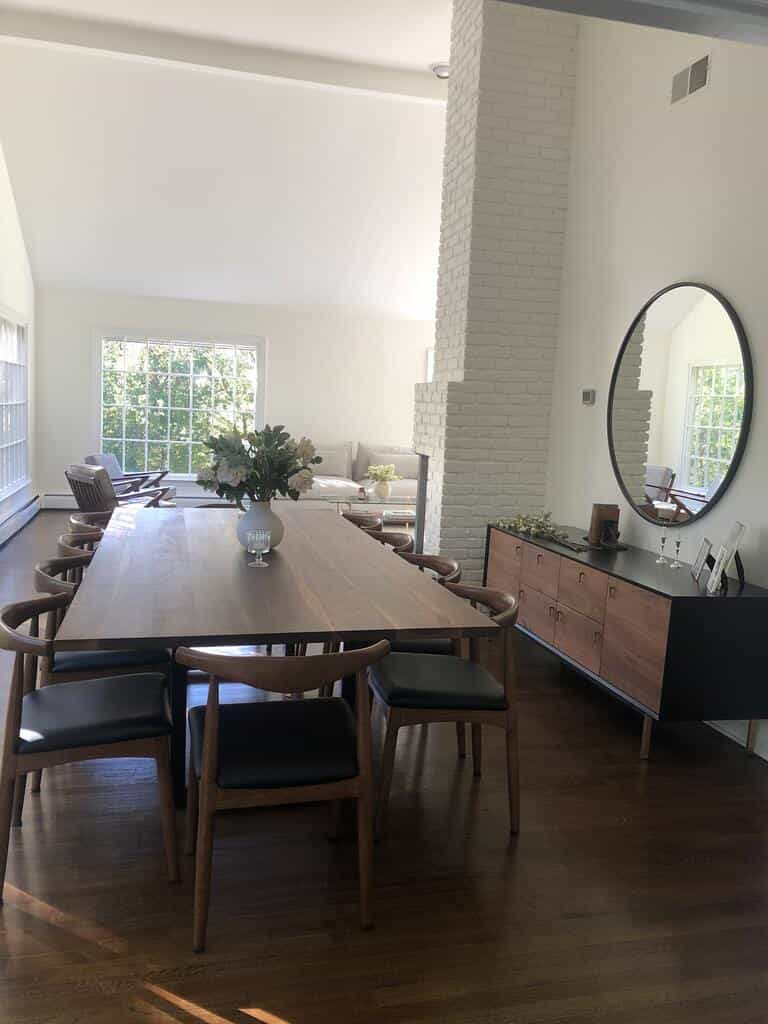
A Large Dining Room
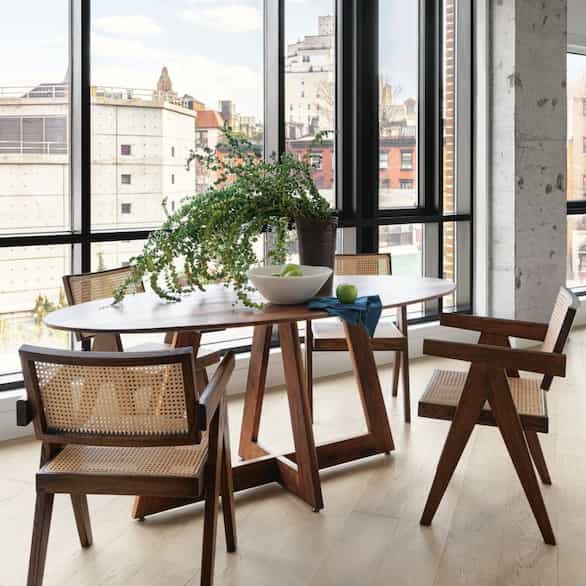
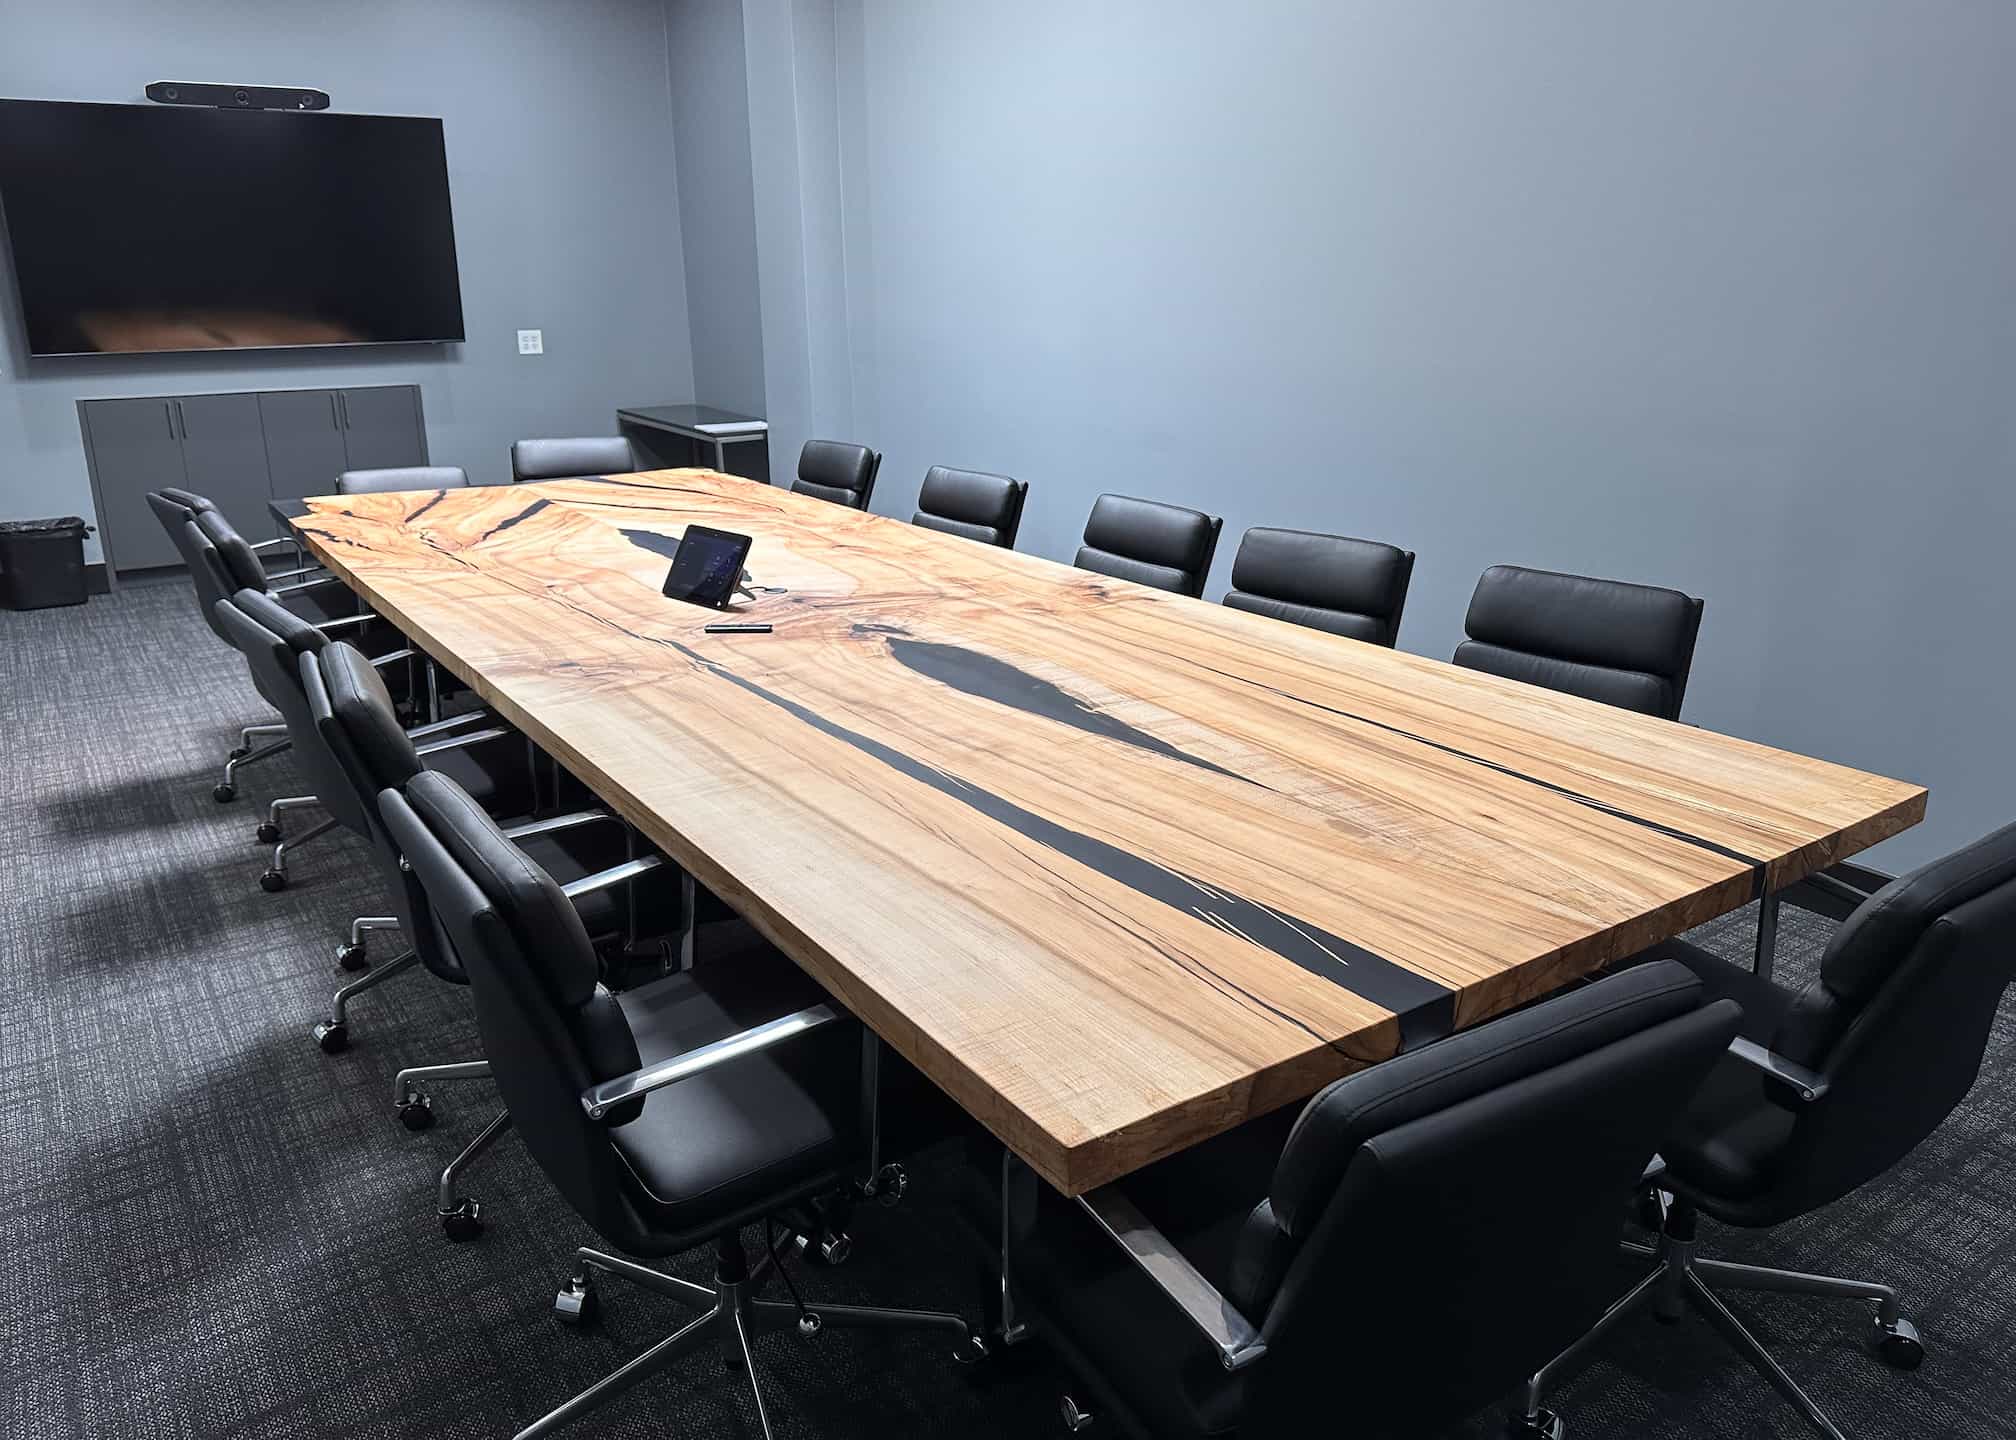
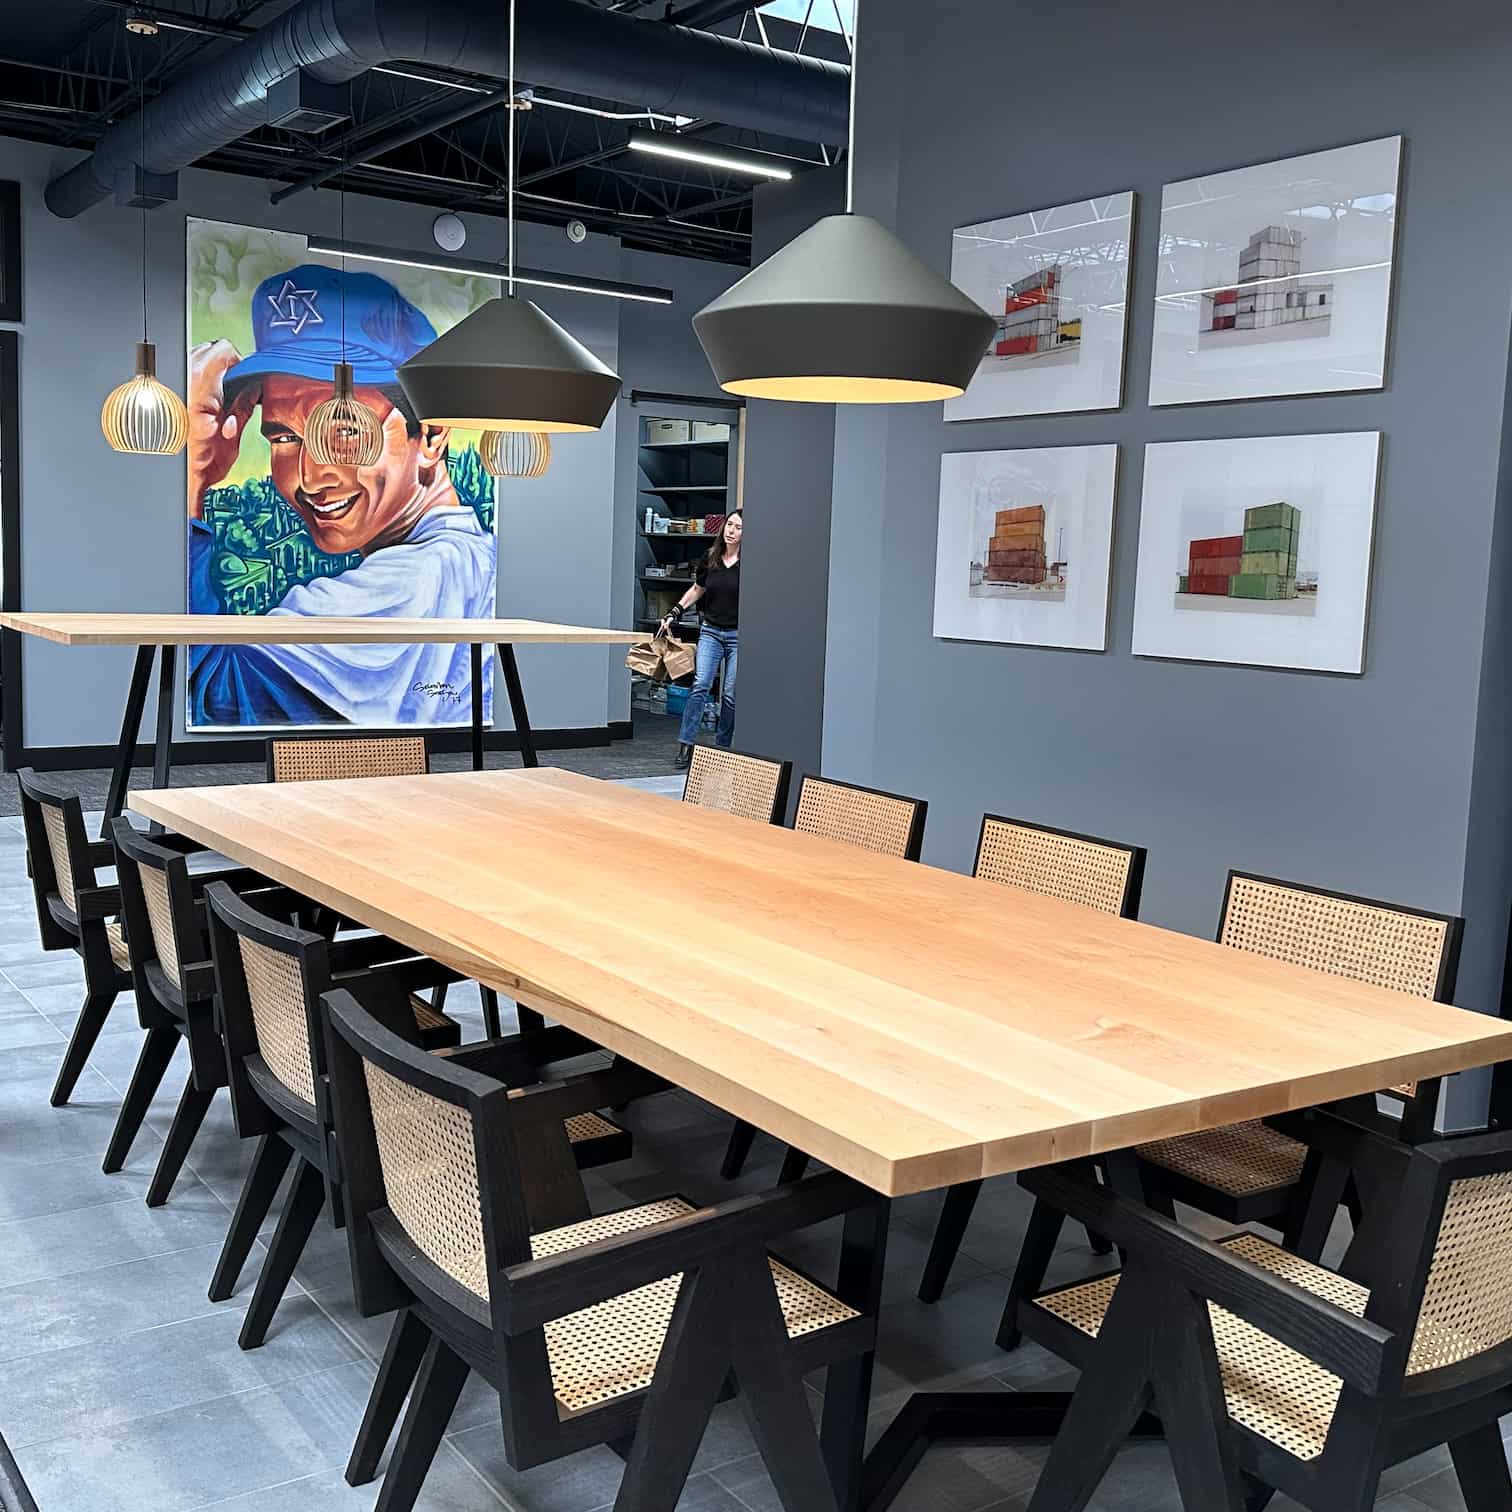
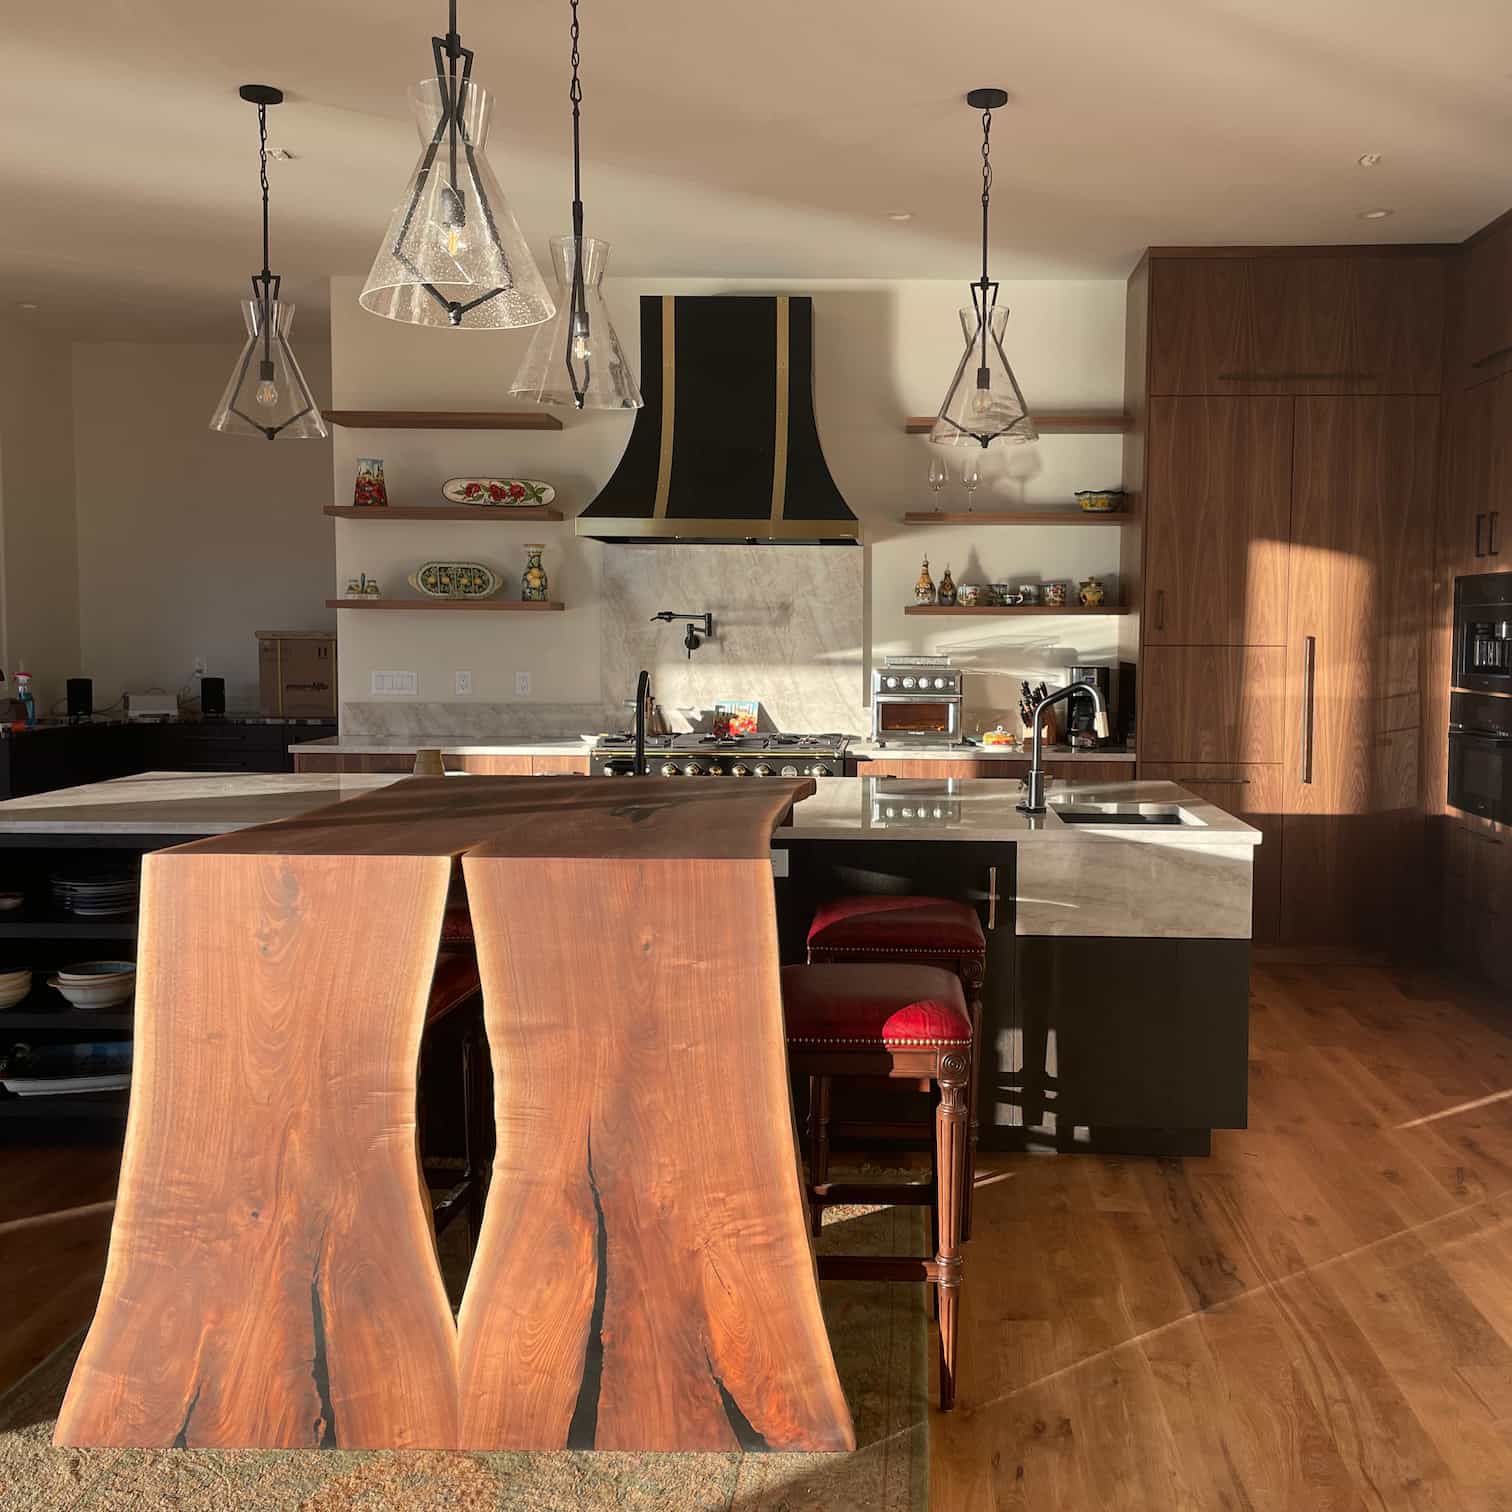
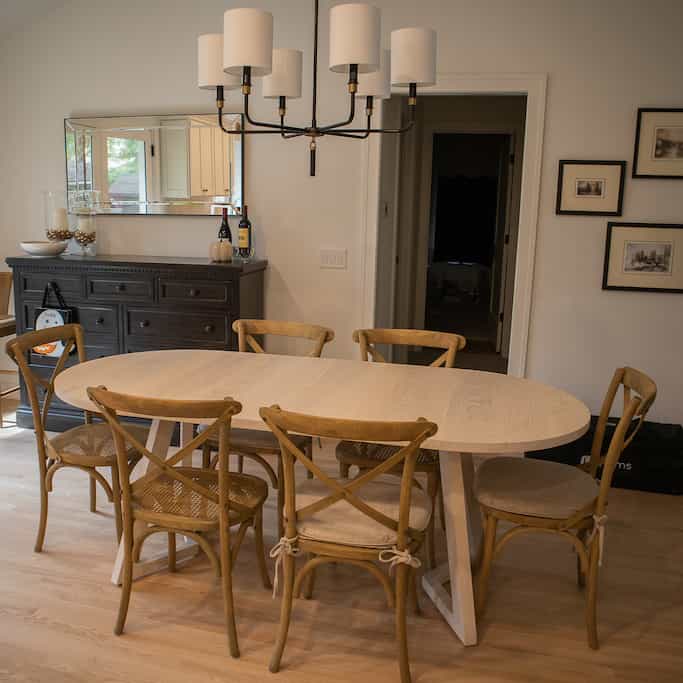
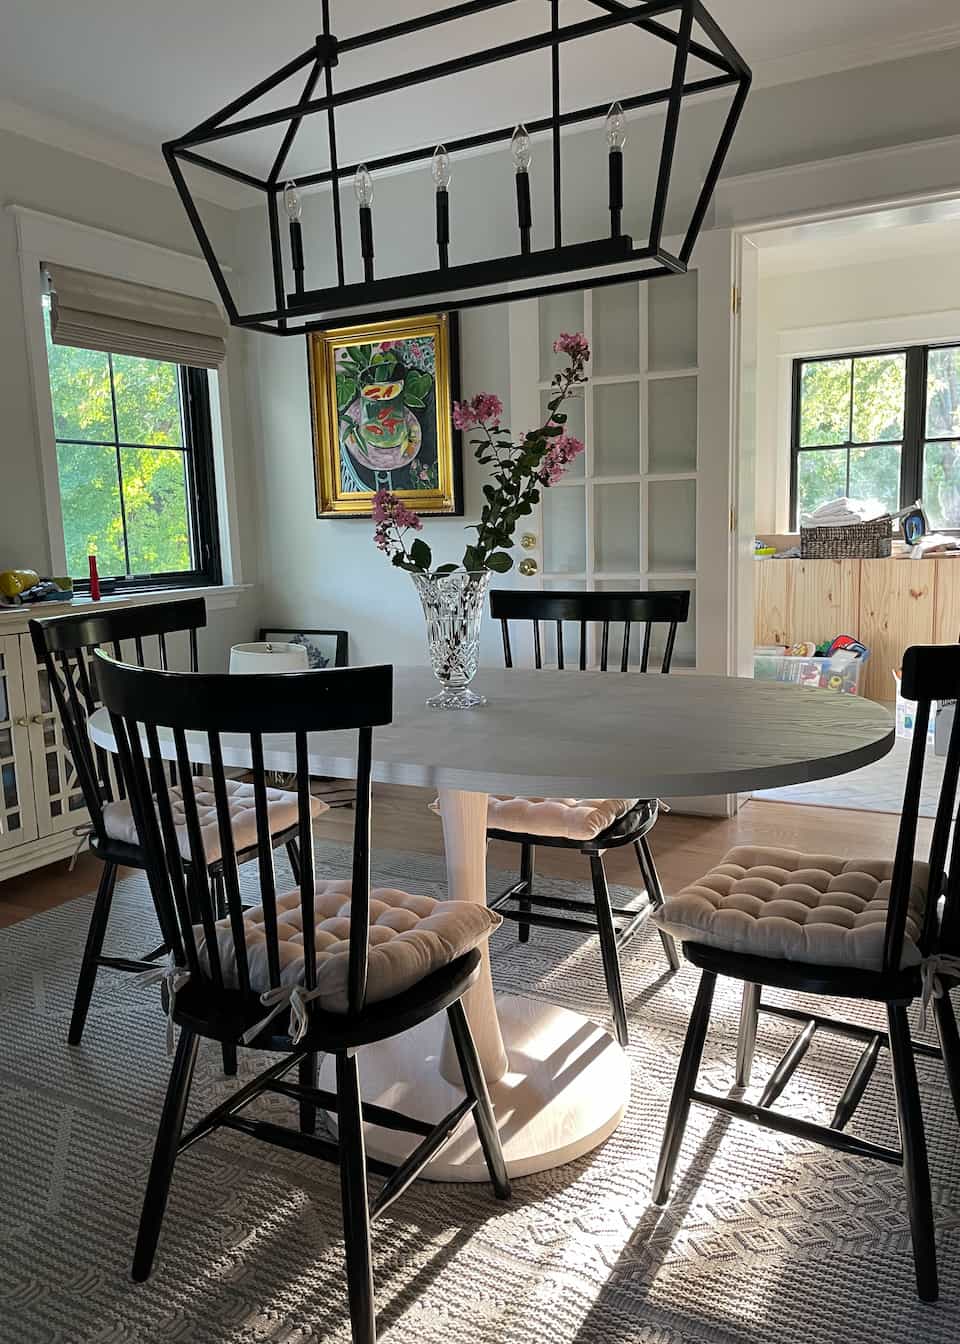
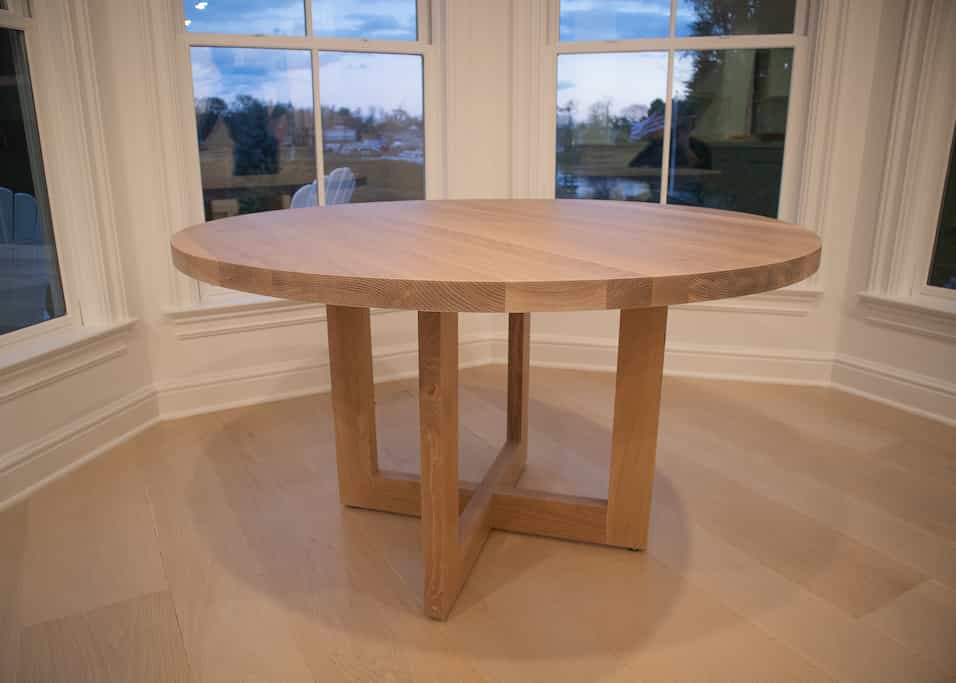
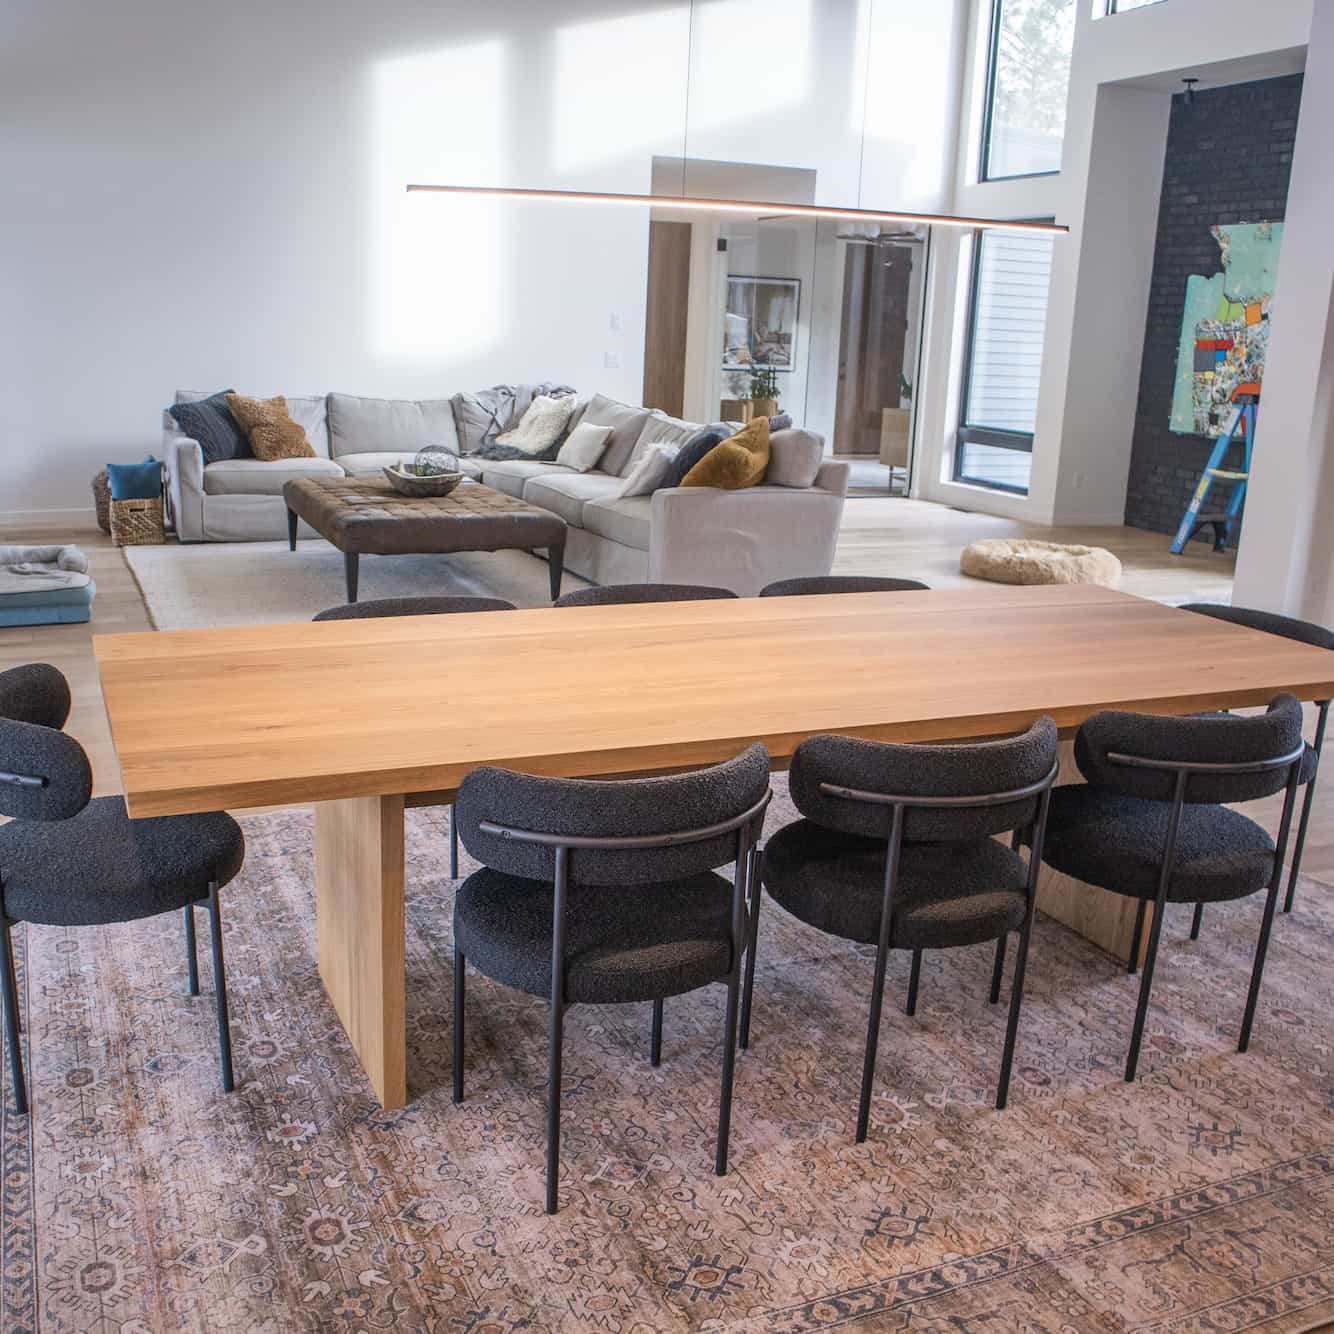
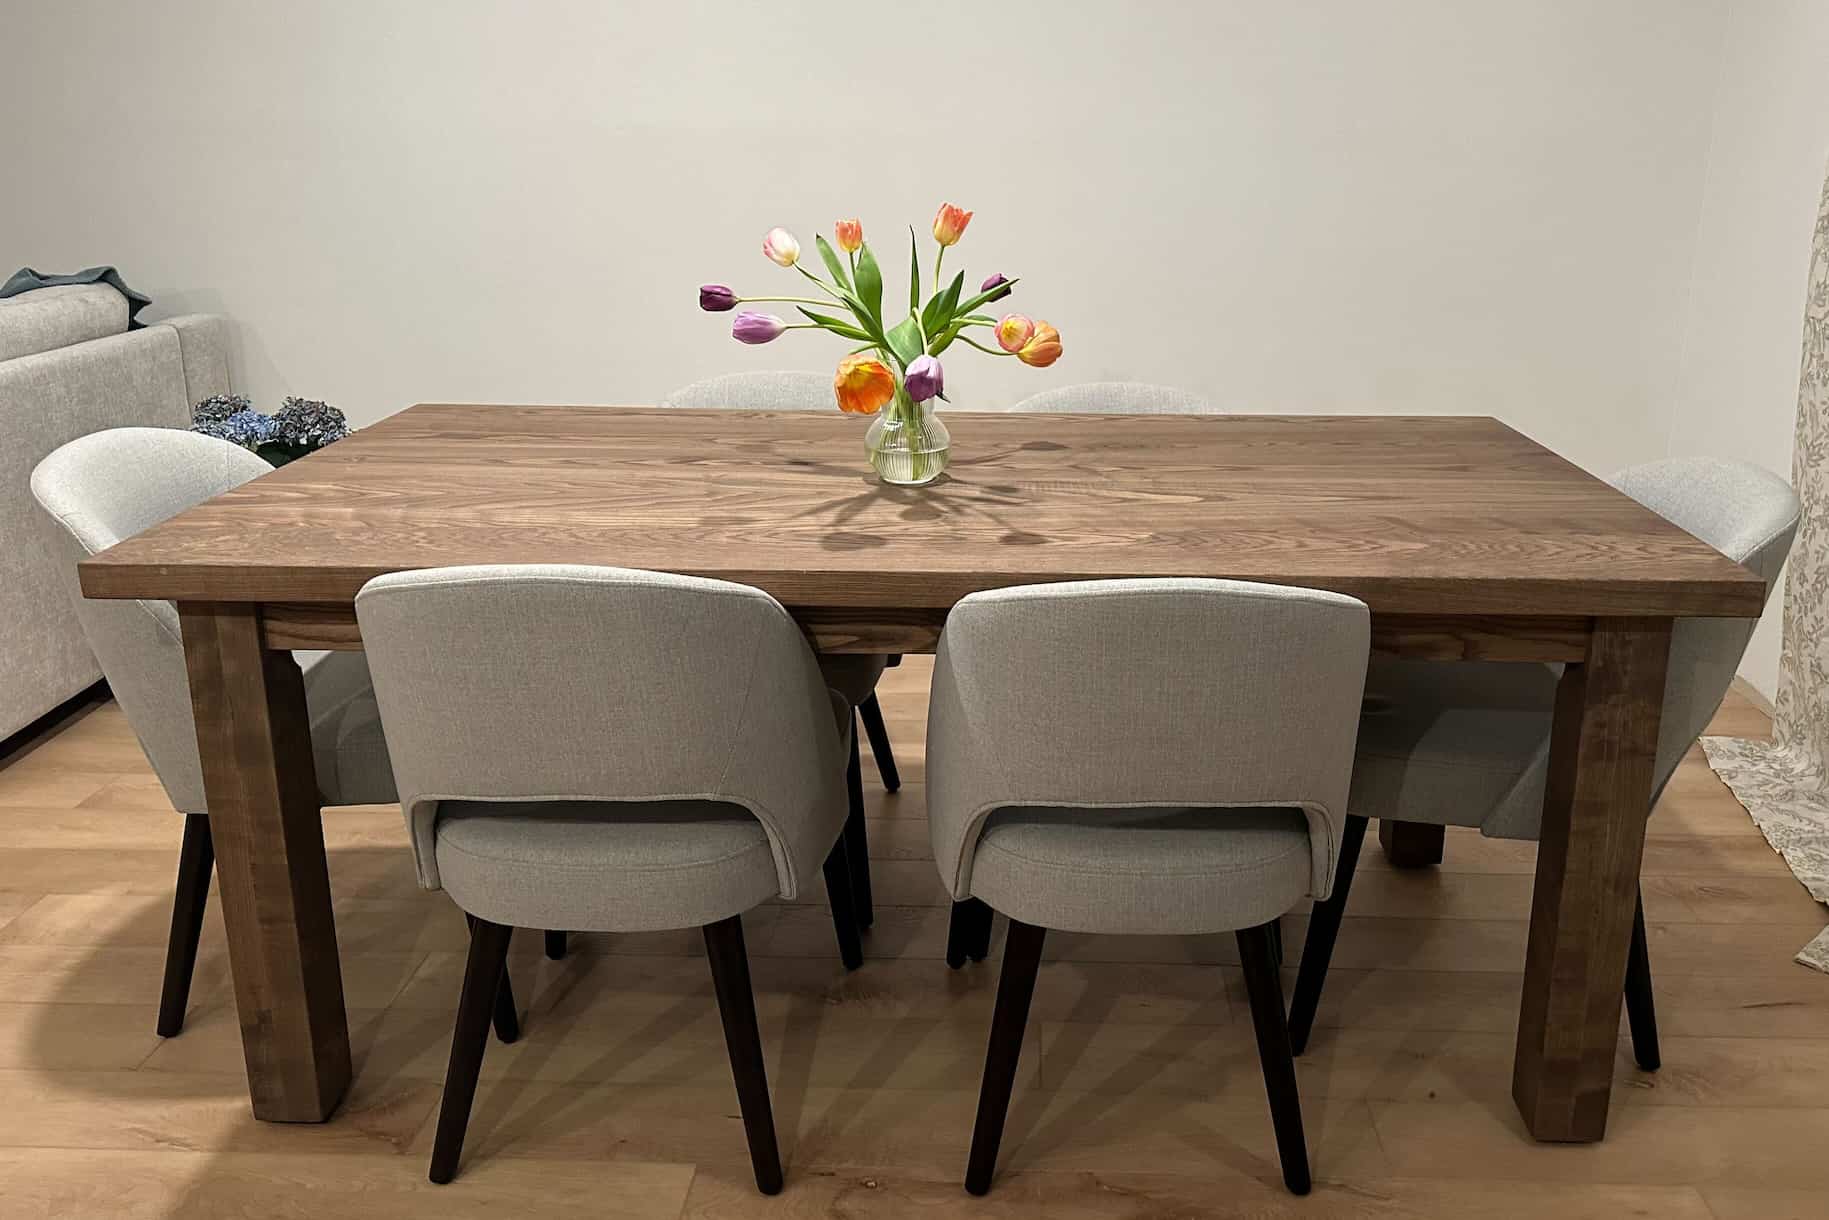
An Open Concept Space
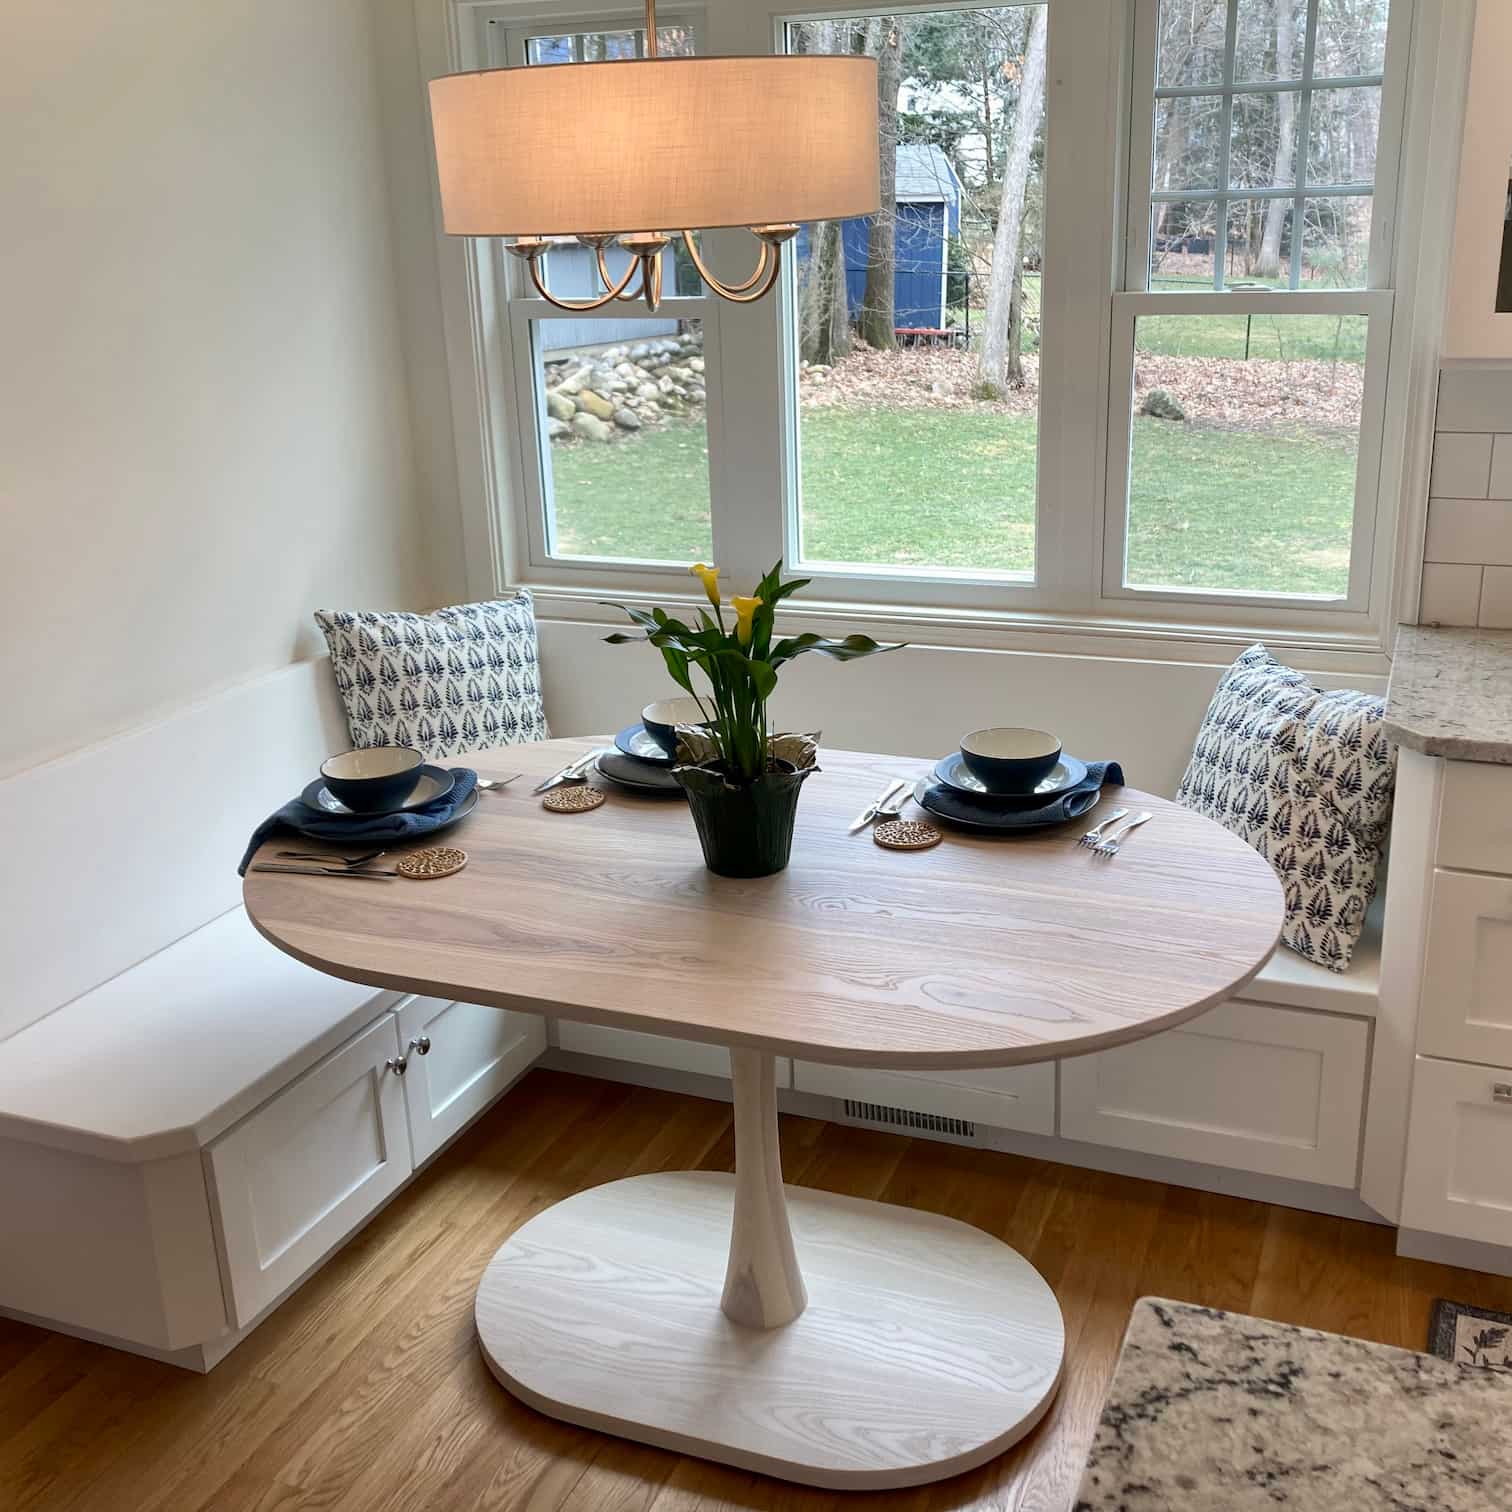
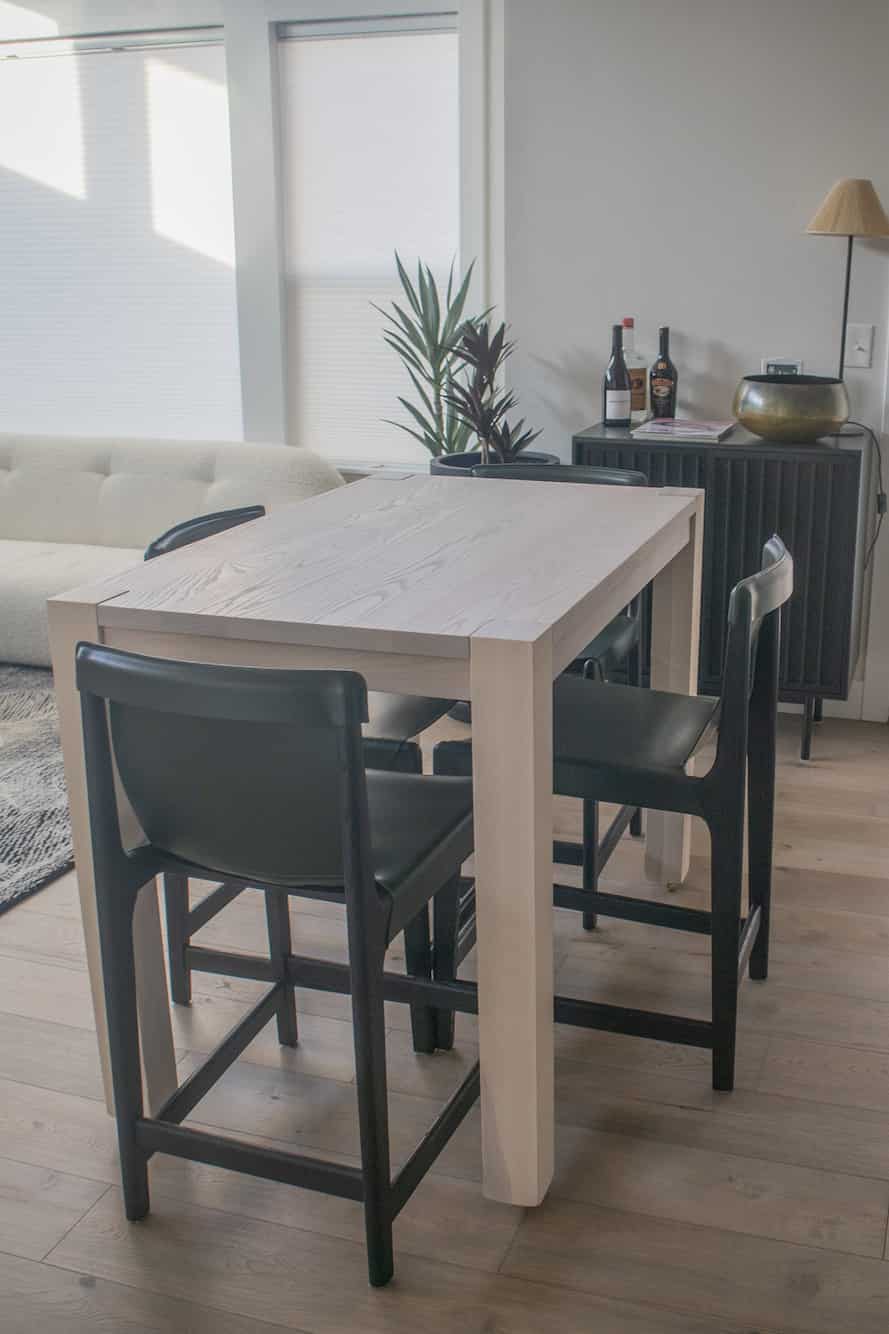
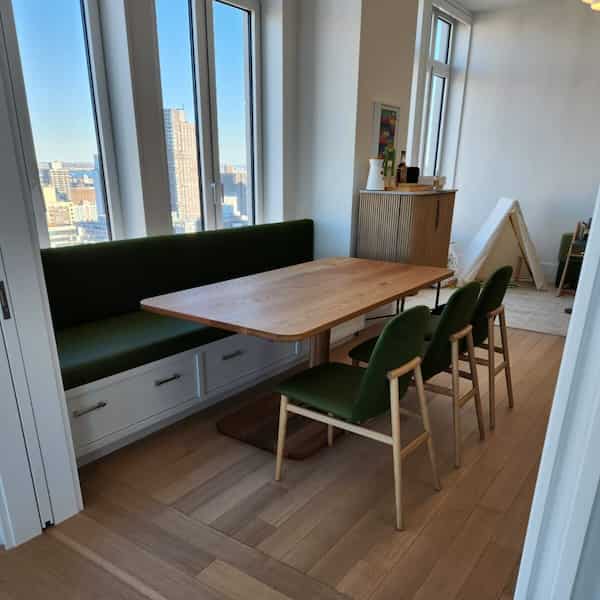
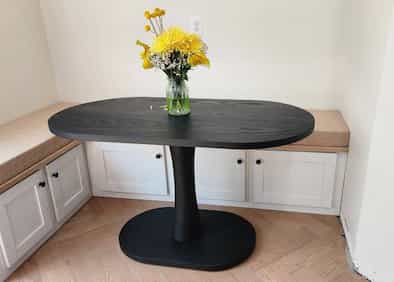
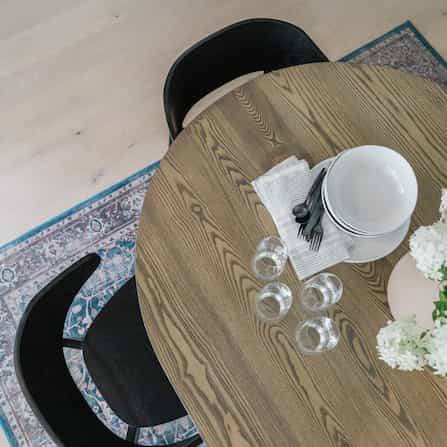
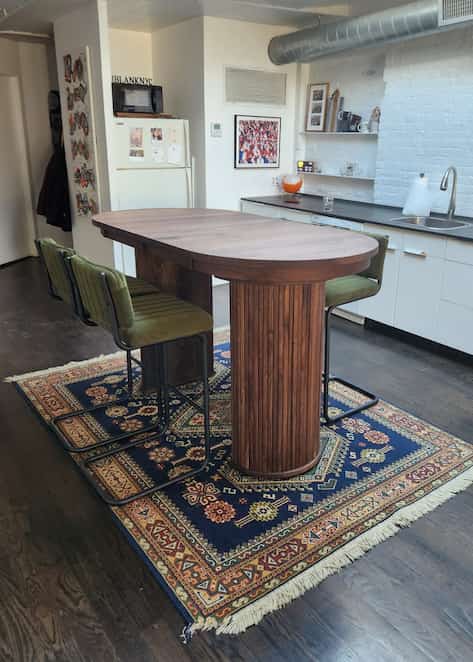
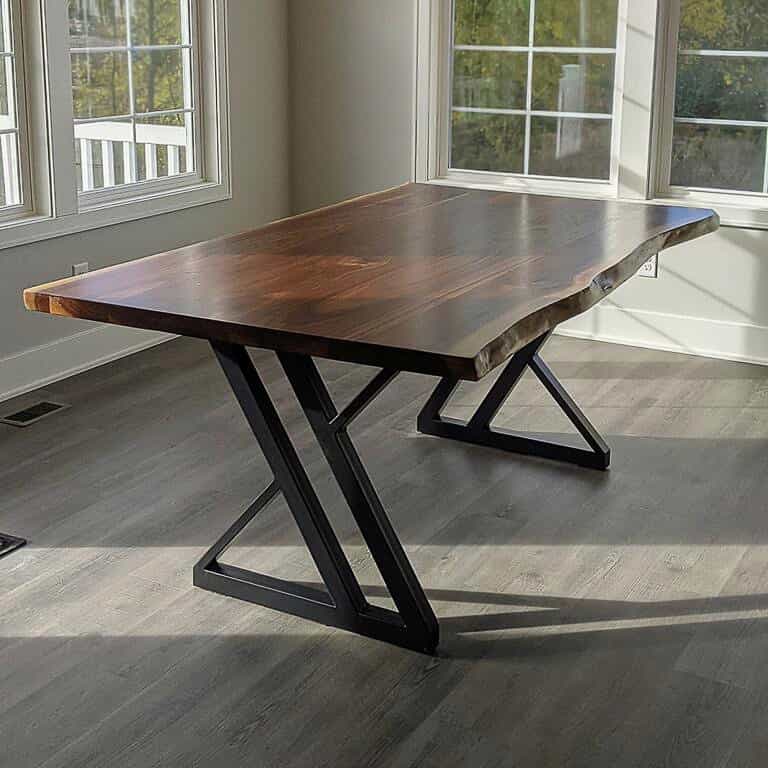
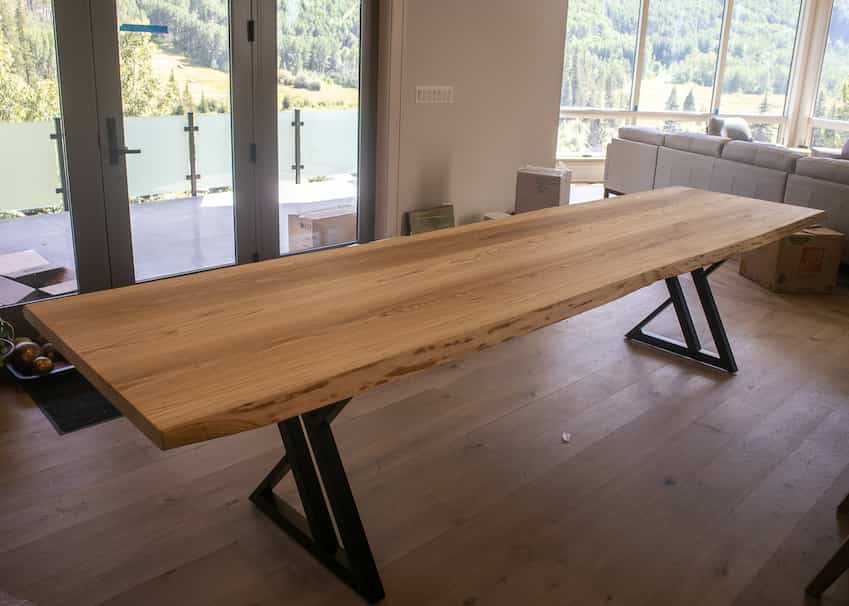
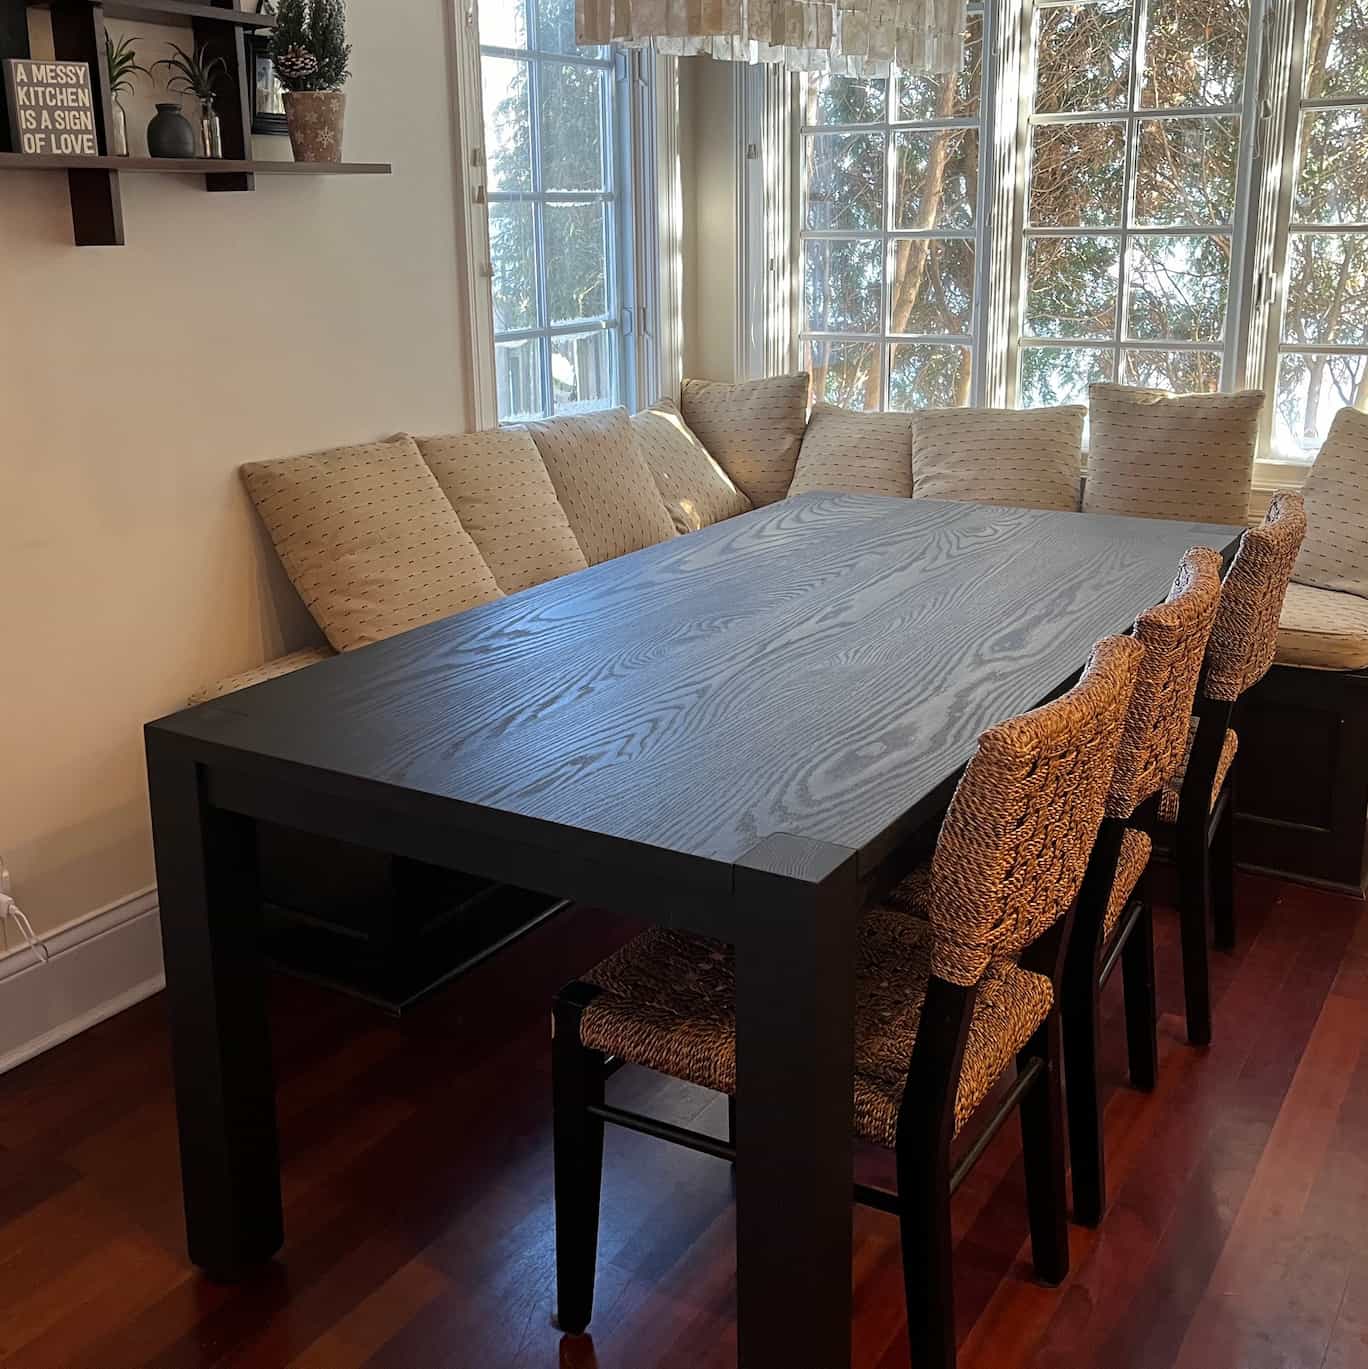
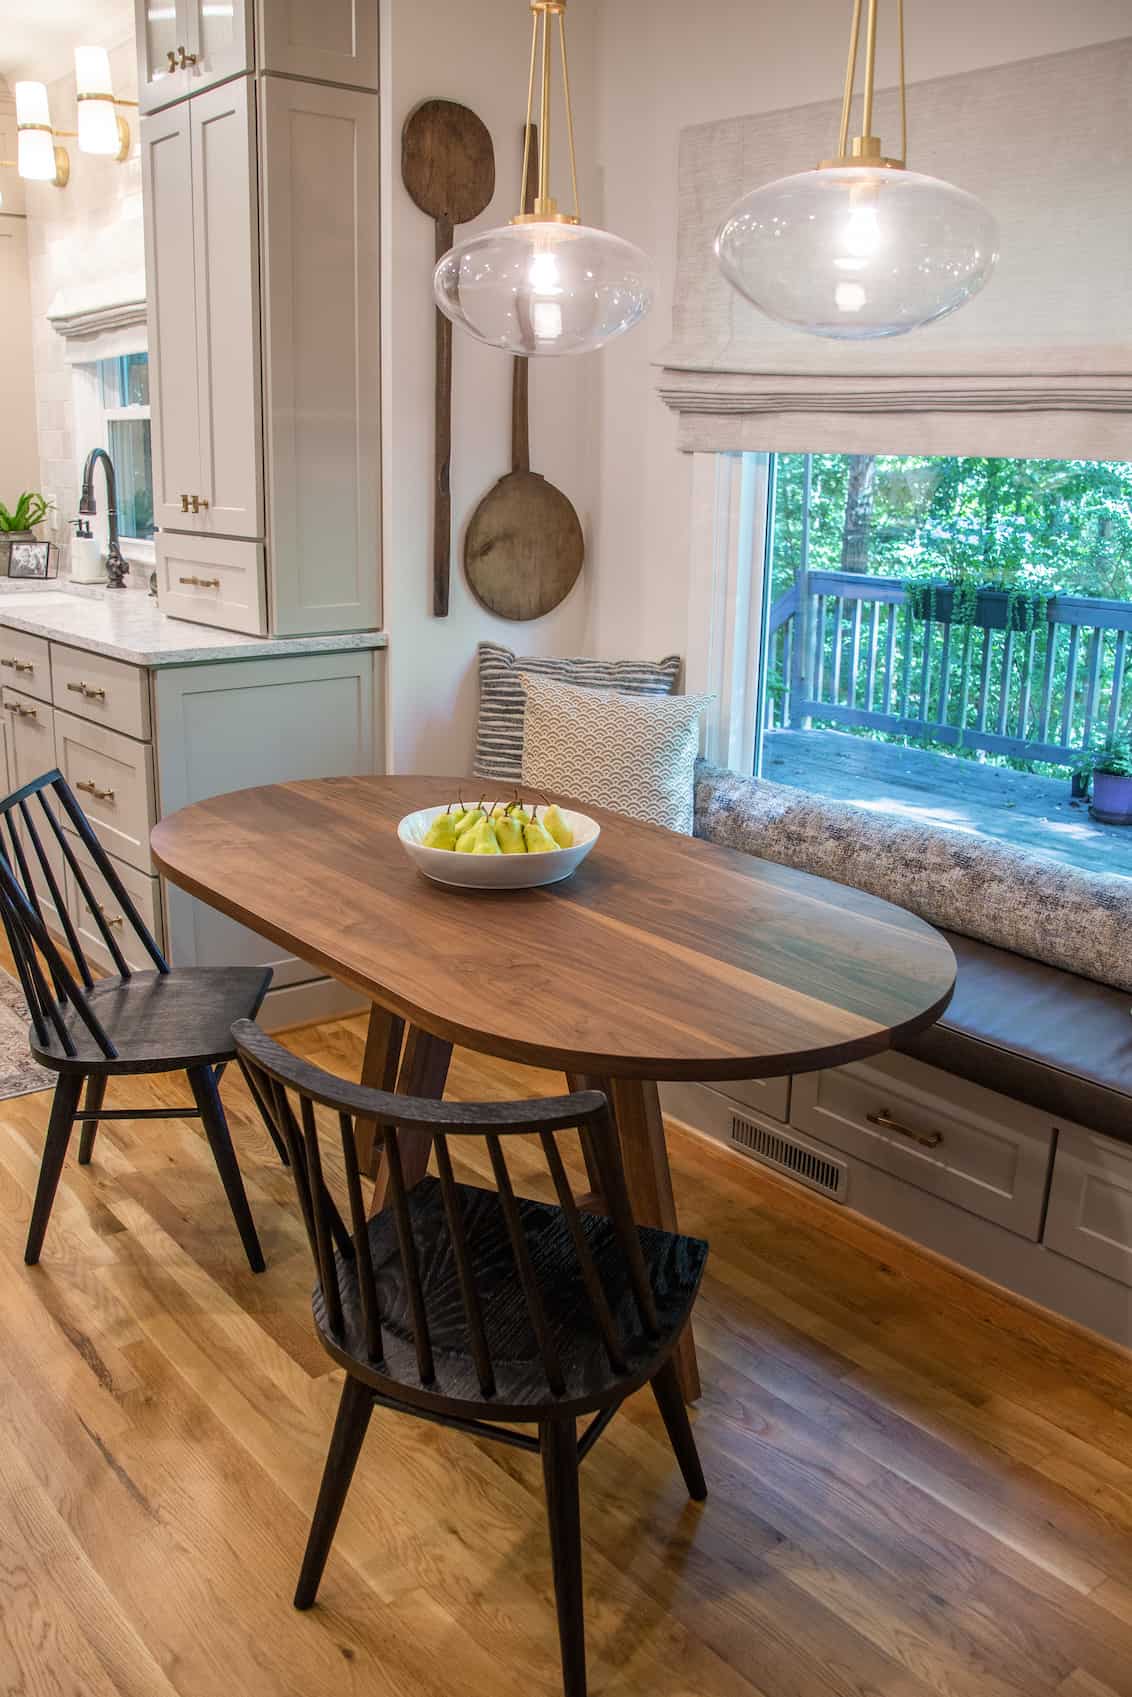
A Banquette
What Happens Next?
We'll send you a couple of suggestions to start from, and we can refine them together. We’ll need a few days to review your info, and will reach out if there are any gaps we need filled in. Keep an eye out for an email from us within a few days!


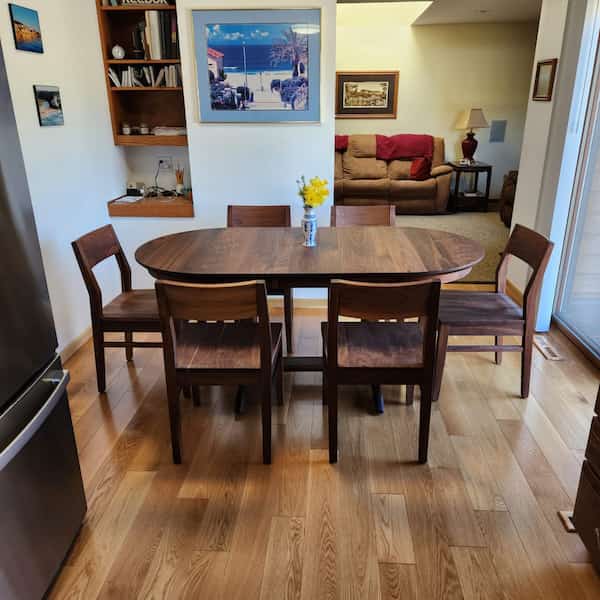
Find Our Tables in All 50 States...
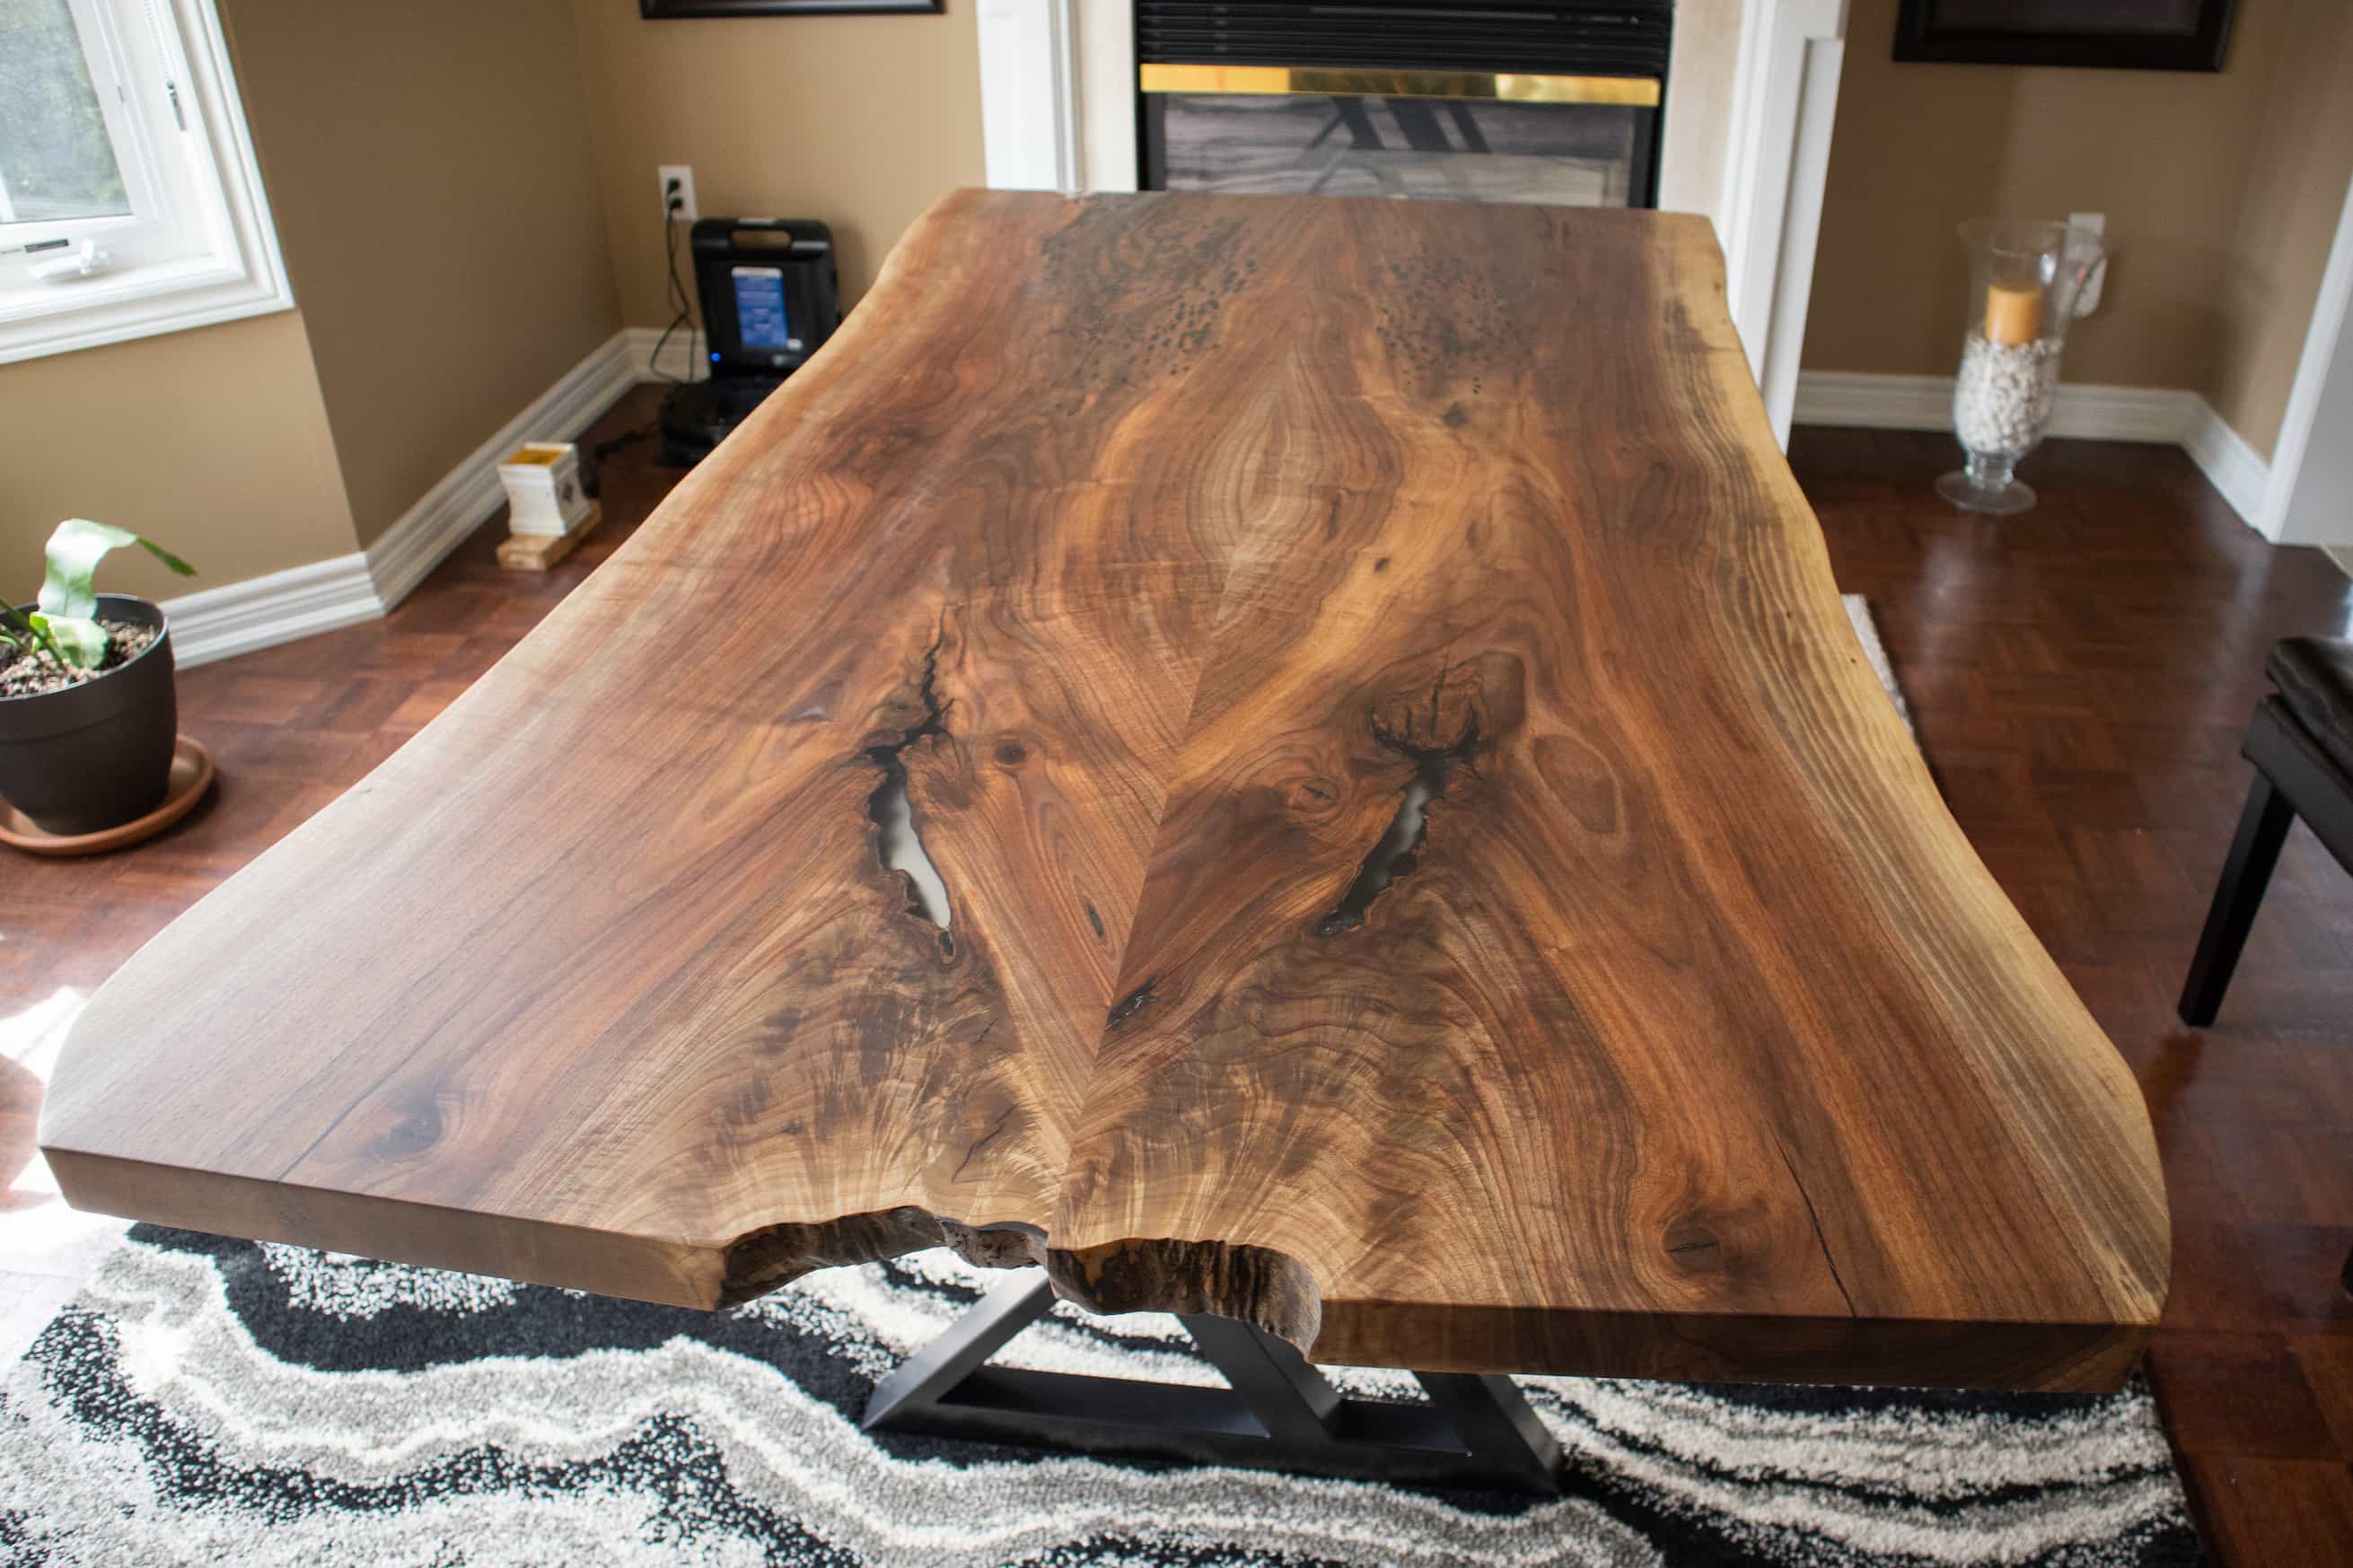
See how our previous customers are enjoying their custom wood tables


Like What You See?
Get Started with our Table Design KitWhy Choose Us
We’ve been making solid hardwood dining tables for a long time, and with decades of furniture building experience on the team, we know we will make you a dining table that you will be proud to own for many years.
Custom Made in Ontario, Canada
We expertly craft every piece of furniture one at a time with a specific customer in mind
Find Our Tables in All 50 States
We have happy customers across the US and Canada who are all enjoying their custom solid hardwood tables
Simple Collaborative Design
Through calls, drawings, and samples we’ll work with you to find the best design for your needs
Crafted From Premium Materials
We use solid hardwoods that we finish with industry leading all natural sealants


What Our Customers Say
Our customers love to share about their experiences working with us on their custom wood table projects
Rated
By Our Customers
Canadian Made & Built To Last
30 Years+ Woodworking

From the beginning Loewen Design answered all our questions and was very easy to work with.
The table arrived exactly as ordered without any freight damage do to Loewen Designs careful packaging.The craftmanship of the table exceeded our expectations and we are very happy to recommend Loewen Design Studios to anyone looking for reliable custom table builder.
Scott
VIEW PRODUCT

We love everything about our dining table from Loewen
Especially the craftsmanship and the customer service! You can tell this table is thoughtfully designed and well made from solid wood.Definitely a lifetime piece. We felt very taken care of.
Alyson
VIEW PRODUCT
We absolutely love our new table from Loewen Design Studios.
The table is beautiful and has become the main centerpiece of our home.The team at Loewen was very easy to work with. They were extremely helpful and very responsive to all our questions leading up to the purchase. Finally, the table was packaged really well and arrived without a scratch. I definitely recommend Loewen Design Studios if you need a piece of custom furniture.
Allan
VIEW PRODUCT

Exceptional quality and customer service.
It was delivered on time and in fantastic condition. It is so beautiful. No regrets. Get one for yourself!
Liz
VIEW PRODUCT
We LOVE our table.
After getting two damaged tables through Wayfair, we decided it was worth the investment to get a real wood table. I'm so glad we did. This table fits in perfectly with the vintage mid-century chairs we had already purchased, and it looks great in our home.
Kuleen
VIEW PRODUCT
Our table from Lowen Design Studio is absolutely incredible!
Not only did they help design the table from scratch for our space, but they carefully constructed and deliver our table from Canada. The quality of the woodwork is impeccable and we would recommend working with Lowen Design Studio to anybody. We are so happy with our purchase!
Clara
VIEW PRODUCT
The quality of this table is outstanding.
The communication was excellent. I could not be happier!
Matthew
VIEW PRODUCT
Exceeds expectations! Beautiful table and expert craftsmanship.
This custom designed and sized table fits my room perfectly. The surface protectant wax material on the wood is great and keeps my kids messes easy to clean up. Highly recommend!
Kevin
VIEW PRODUCTOur Blog
Everything you need to make sure you can get the perfect table for your home.

Understanding Sheen for Your Wood Table
The sheen on your wood table refers to how shiny or reflective the finish is. While most of our tables have a matte finish, a satin finish is also a possibility.
READ MORE

Designing Tables for Small Spaces
In small spaces you need to be particularly intentional with each detail of your table so you can maximize your space and still get the functionality you want. Let's explore some of these considerations.
READ MORE

Is That Oak or Ash?
Oak wood and Ash wood are similar but have some important differences. Let's explore how these differences affect your custom table.
READ MORE
